
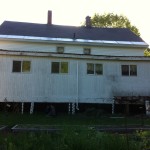
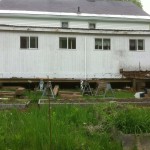
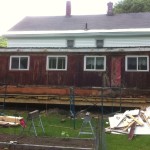
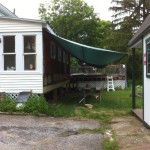
Overview of the Project
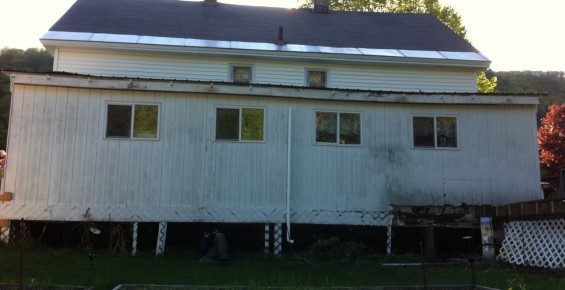
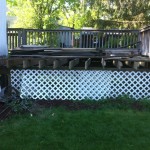
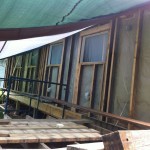
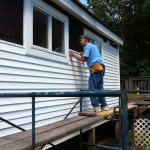
Originally the owner of The Great Wall solely wanted to remove old siding on the back of a porch addition (the name refers to the shed roof addition that originally was built as a porch) that ran the length of the house and re-side with vinyl to match the rest of the house. There were extras like cutting off pool shaped contours of the deck where there was no longer a pool. Also splash from the roof had obviously rotted part of the wall adjacent to the deck so there was at least some repair work on the schedule.
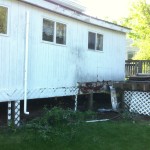
Ultimately the project ballooned into replacing the whole wall because previous repairs had only covered up the water damage in the wall and masked the problem until deeper investigation was performed. The project continued for 3 months as the owner wanted to contribute his labor to the job which allowed me to proceed with other ongoing and new projects. Actually the owner was pleased with this slow progress because it often allowed extra time and investigating to learn underlying problems and address them in the most efficient and effective manner.
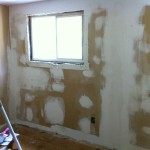
Early Stages
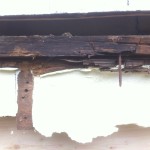
Clues to what lay in store.
-
- Cracks indicating movement of the wall
-
- More cracks…
-
- The 2×12 at the bottom created a ledge for water
-
- Deck boards removed and joists cut straight.
-
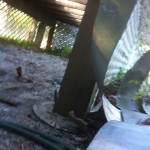
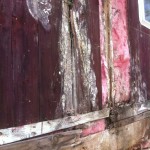
- Damage from splash off the deck.
-
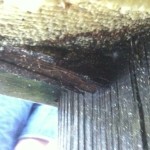
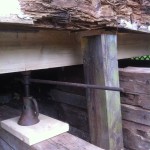
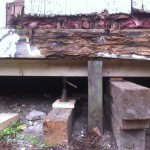
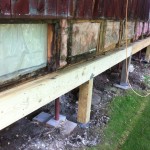
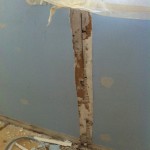
- Where post is crushing the beam.
-
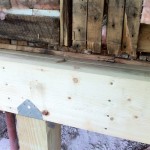
- Showing a two member beam.
-
- Remains of the two member beam here.
-
- Looking up at the beam.
-
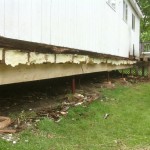
- A deck post. These appeared to be better built than the ones under the porch addition.
-
- Sag in the roof.
-
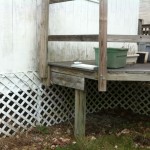
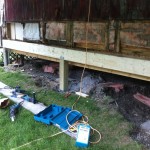
- This portion of the deck had to be removed to gain access to the wall.
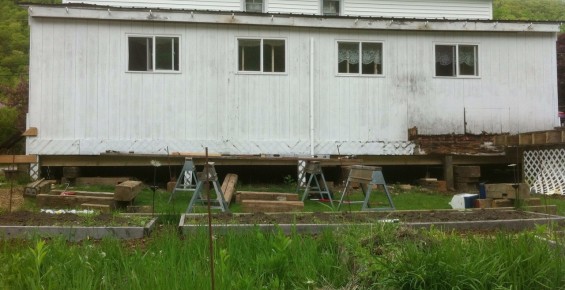
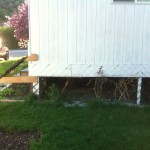
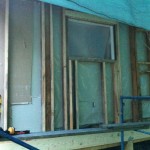
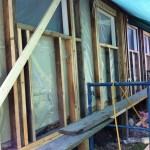
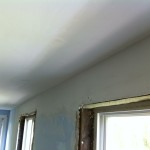
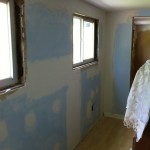
Temporary Supports
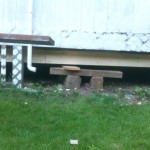
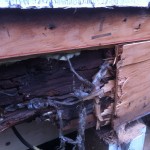
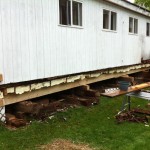
Closer inspection had revealed that the beam holding up the wall, roof and ends of the floor joists was very damaged from rot so measures were taken to support the building so it could be worked on safely until new support structures were in place. The following gallery shows temporary supports I used.
-
- Cribbing from old barn timber frame
-
- A new interior wall to hold up roof and ceiling while the wall was replaced.

-
- Temp wall tacked to the floor and ceiling.
-

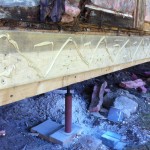
- Now to support the floor with a temporary beam.
-
- Note the space above the post.
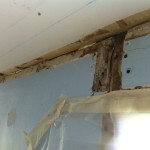
-
- The damage was more than expected.
-
- Cribbing up to the temp beam.
-
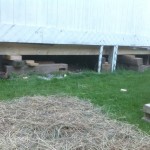
- Cribbing used to support the beam.

-
- A slightly straighter roofline.
-
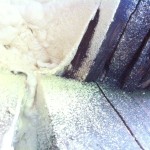
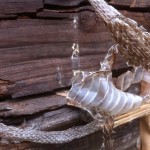
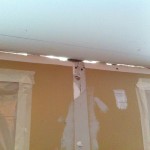
- Gaps through the rotted wood had allowed snakes to get in.
-
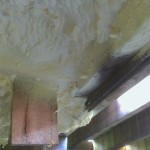
- Here the foam insulation is revealed as the remains of the old beam is removed.
-
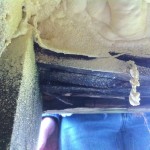
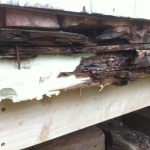
- The shoe of the wall was mostly rotted.
-
- Temp beam in place supporting the floor joists.
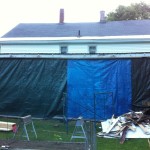
Unveiling the Problem
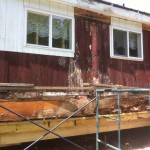
Next the old siding was removed revealing more rot in and older layer of siding and the studs.


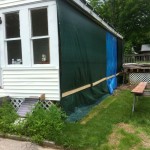
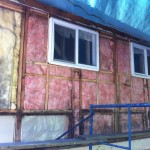

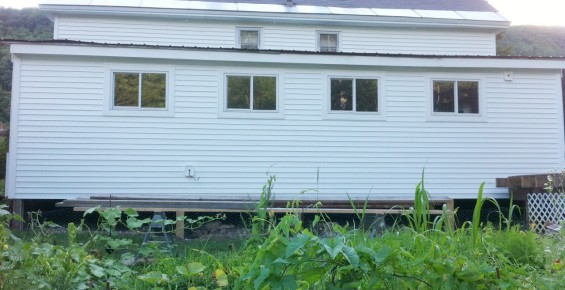
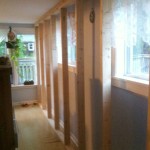
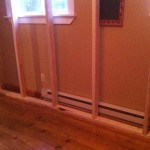
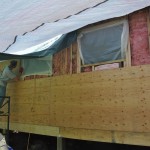
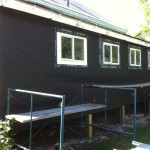
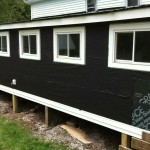
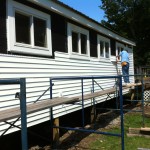
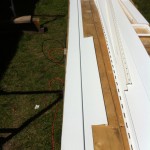
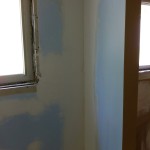
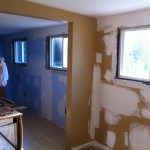
Finally Sided – The Original Objective
The owner put in the insulation and helped put on the 3/4 plywood I used to maintain the original wall thickness. His dad was recruited to help with the siding installation. Nice folks to work with!
-
- Nice to have the beam act as a ledge to hold these heavy sheets.
-
- Cooler in the shade.
-
- Felt paper as house wrap, windows sealed and window trim going on.
-
- All windows trimmed and siding underway.
-
- Sided up to the windows.
-
- Fitting between the windows.
-
- Good help!
-
- Cutting on the bench.
-

- Saw blades turned backwards, covered us with white saw dust.
-
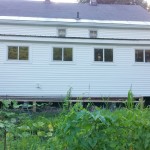
- Finally the back wall matches the rest of the house.
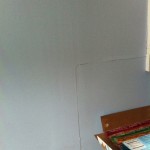
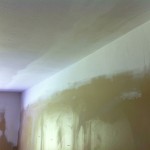
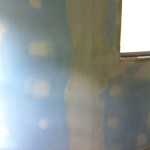
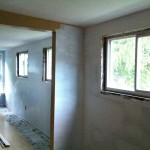
Drywall
The dry wall was so difficult to access behind the temporary wall, it made sense to salvage it so the project could move forward. What was saved in materials and disposal, was probably used in time spend repairing the old sheetrock but the owner was not looking for perfection so it worked.
-
- A long way to go for this to be flat and smooth.
-
- I cut out the old tape to make room for the new.
-
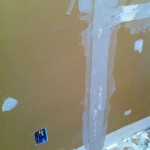
- New tape on the old wall.
-
- Yes, that is daylight showing!
-
- A couple of coats
-
- Ceiling corner looking better.
-
- Big holes filled. A special corner tape really helped.
-
- Improving…
-
- This looks like lots of mud but it could have used more.
-
- The last coat.
-
- Ready for paint!
-
- Primer first. Painting was done by the owner.
-

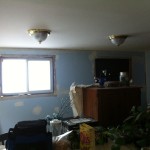
- Much better! So much brighter.
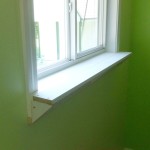
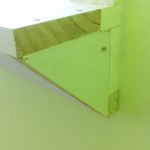
-
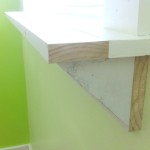
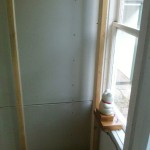
- I added extensions to the sills for holding plants.
-
- Kitchen windows were trimmed slightly different.
-
- Even wider extensions to make the sills 8″ wide.
-

- Some clever color scheming.
-

- A nice bright finished room and the floors don’t quiver any more!
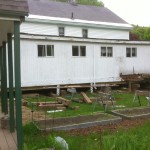
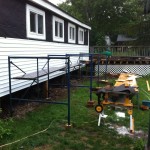
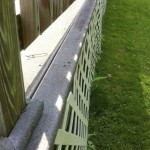
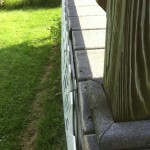
Deck Trimmed and Upgraded
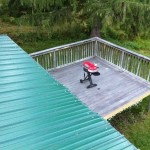
The deck was mostly rebuilt by the owner but I added a starting board where there never was one and a finishing rip at the end. At the house end, I cut and routed the ends to give a finished look.
Plugging Possible Leaks
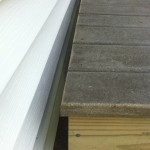
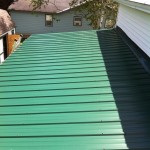
Finally an important part of the project is to prevent future damage from the same water source. I concluded that the water damage to be so universal in the wall that the leak must have been from the roof. I suspected ice dams and failed rolled roofing from over the years that allowed water in the wall particularly in winter. Since the roof was only a 2/12 pitch it seemed very susceptible to ice dams even though the roof had been re-done with corrugated metal. I could imagine ice dams accumulating at the edge and forcing water through the lap seams so I found the sealing strips usually sold with the corrugated metal and by removing seam screws, I was able to add the strips.
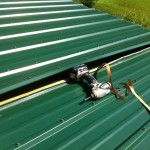
Another possible source of water was from the flashing where the shed roof met the main building. It was well fit to the roofing but was lapped onto the wall without the siding on top. This open edge of flashing was another potential leak as well as very ugly so I added more flashing that fit under the siding and lapped over much of the roof flashing.
-
- Roof/Wall flashing is open to rain running down the wall.
-
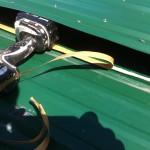
- Adding the sealing strip in the lap seams.
1 comment
Cliff Dutton has done various work for us, but this testimonial is specifically related to the biggest job he did for us. No homeowner likes to spend money on repairs. What started out being a reasonable sized project grew to be a rather large project. This was a case of not knowing the magnitude of the problem until you uncover it a bit. Unfortunately, the damage to the house was worse than we feared due to a history of water damage and “band-aids” that did a good job at hiding the structural deficiency. At no point during the “marathon” project did I want anyone else on the job. I admit I became stressed at times, but not because of the work that was being done, but because the work HAD to be done. One of the greatest strengths Cliff has is his ability to solve a problem without sacrificing quality and minimizing costs. Because we have such an old home, simple tasks can be often more complicated. During the big project Cliff did what he could to minimize the amount of disturbance he caused, and when the weather allowed, stuck to his schedule. Another thing I appreciated was his willingness to allow me to help with certain tasks to save me money. Because some of the required work was repairing previously improper construction methods, Cliff took his time evaluating the best choice of action. Some work prompted some very creative thinking and “out-of-the-box” solutions. Many contractors can do common or straightforward tasks, but when faced with a “curveball”, don’t always do the right thing. Cliff does not compromise with doing the right thing and his high standards leaves you with confidence and fine craftsmanship. I’d recommend Cliff for your next construction project.