
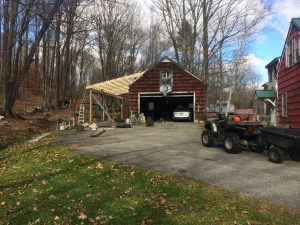
The Need
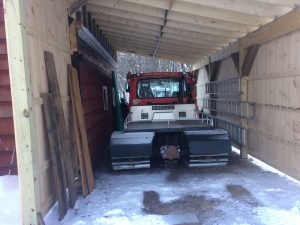
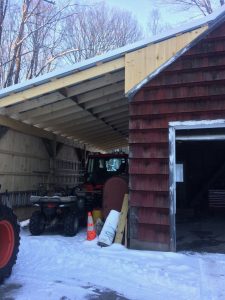
My clients upgraded their ski trail grooming equipment and the larger size made the need for a larger shed.
The Job
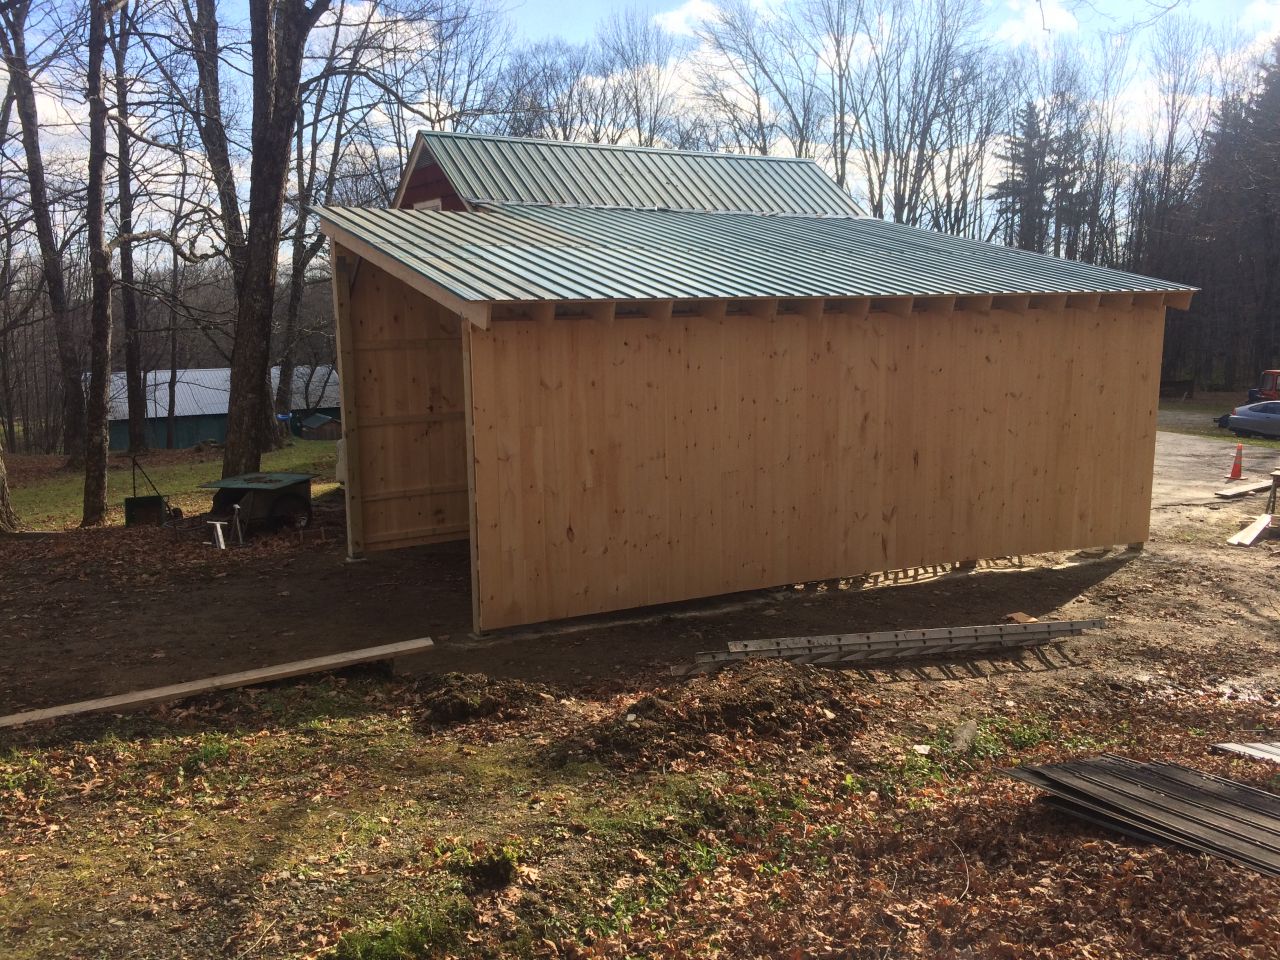
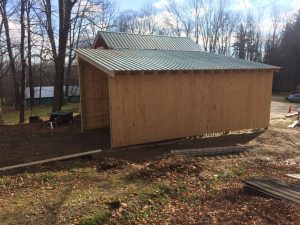
The old shed was 10′ wide and the new one needed to be 12′ wide and 8′ longer. The height of the new machine was also greater so naturally the height of the shed needed to be increased so where the old shed roof attached to the wall under drip edge of the main building’s roof, the new one would need to blend into the existing roof half way up the slope.
The Process
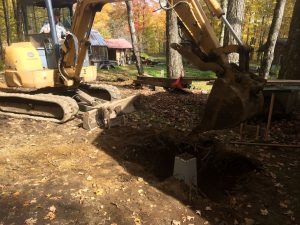
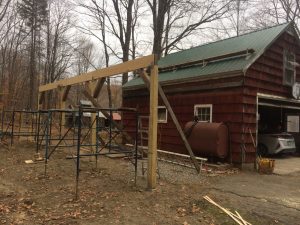
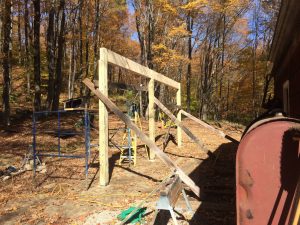
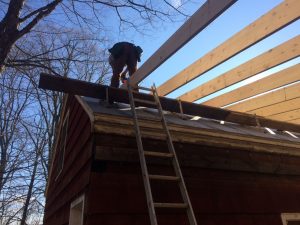
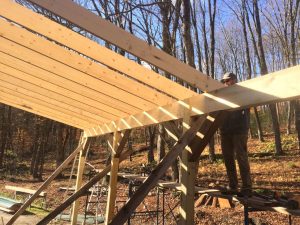
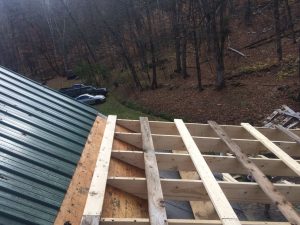
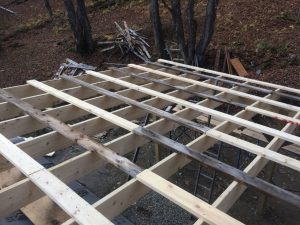
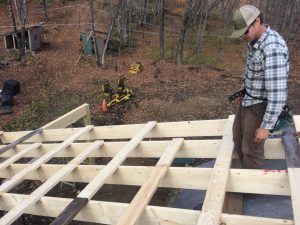
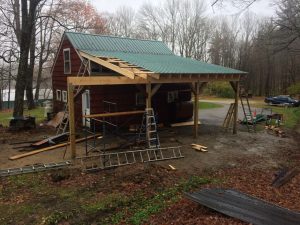
Thanks to the availability of an excavator, and an operator, we put precast piers in the ground to support the 6×6″ posts. Lots of braces held the posts upright as we attached the 12″ beams to the tops. Some long screws attached the 6×6″ braces we made to keep the wall from racking and thanks to pre-cutting and pre-drilling the 2″x10″x20′ rafters, putting them up went quickly. Long screws would anchor them to the main roof. My helpers appreciated the staging so they could work comfortably.
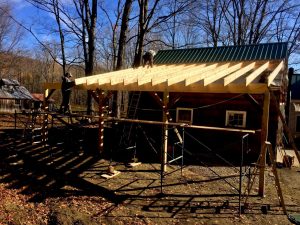
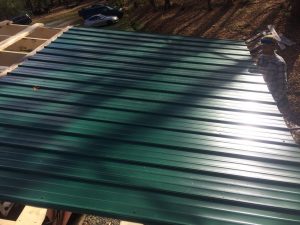
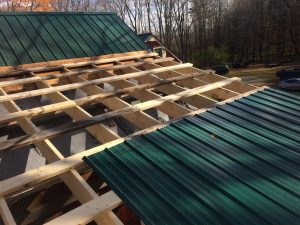
Two by sixes were used as strapping across the rafters to support the roofing. Half of them had been rafters in the old shed. At the back there were 4 more rafters missing for the extension so we staggered where the strapping ended so it would be bricked in. The final beam and rafters were held up until a support wall was built above the garage wall that would carry an intermediate point of the rafters there by reducing the span. A pocket in that wall would carry the beam supporting the upper side of the extended roof. Another post and pier would carry the other end. Coincidentally the owner’s family was visiting just when we needed extra hands to lift the upper extension’s beam into place! We put up the final 4 rafters, the strapping and the remaining roofing.
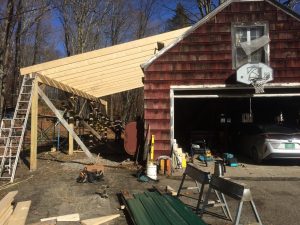
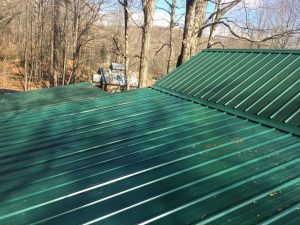
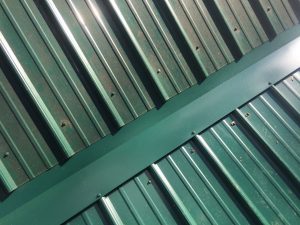
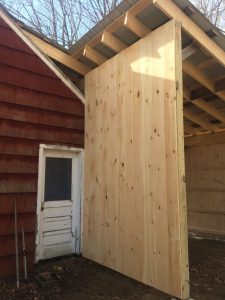
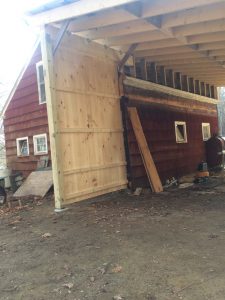
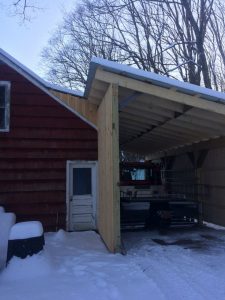
Vertical rough sawn shiplap was the chosen siding and once it was delivered it went up fairly quickly. I sawed the bottom off the long wall so the bottom ends looked smooth and followed the slope of the ground. The transition metal between the two roof pitches had to be ordered so was put in at the end of the project. Also 2 extra 2x6s were nailed into the corner of the garage to serve as a post under the extension beam. As a final weatherizing measure, a cheek wall was built on each end of the shed to fill the area between the new roof and the garage roof.
Photo Gallery

Recent Comments