

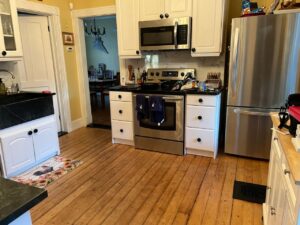
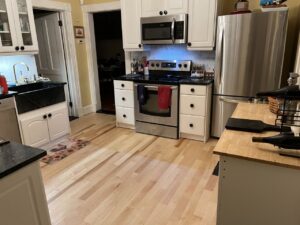
A grand old 19th century built house with 10 foot ceilings needed a new kitchen floor. I was continually surprised as I worked how a high end home could be built with such poor quality sub-floor materials. I acknowledge there was no plywood in that century but there were planers.
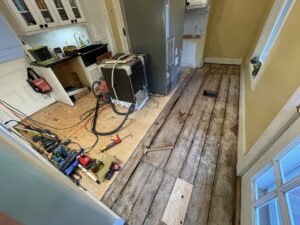
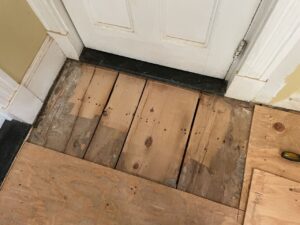
The old 4 inch pine tongue and groove flooring was installed on rough sawn 1 inch pine boards of varying width. “Rough sawn,” meaning they came directly off the saw mill and unknown if they were allowed to dry but judging by the gaps between them I’d guess they were green when installed and shrunk in place. The gaps were not the critical issue but the varying thicknesses was. They appeared to range in thickness from 1 1/8″ to 7/8″ which made for an unstable foundation for the flooring boards which were installed in the same direction as the sub-floor boards. The uneven base made for a difficult life for the tongue and groove pine which, being old growth pine of the times, was much harder and more rugged than our pine of today. The unevenness required the floor boards to bridge and rock back and forth. I suspect the constant wear and tear of movement contributed to creating the gaps between the boards and eventually led to the upper cord of the groove side to break. Granted, that many sandings had thinned the thickness above the tongue.

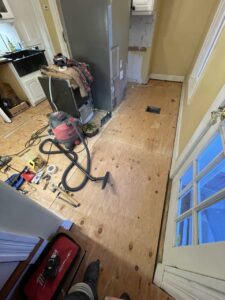
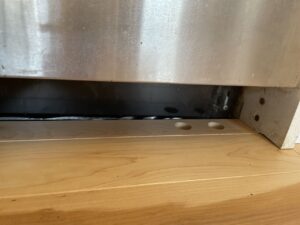
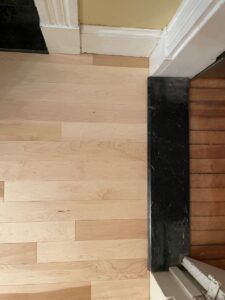
My challenge was to overcome the uneven sub-floor and the solution was a 1/2 inch layer of plywood on top. Fortunately, there was only one location where the boards were so far from flat I had to power plane and chisel out the high point to let the plywood lay flat.
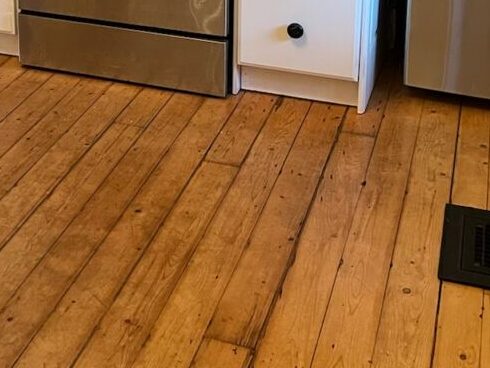
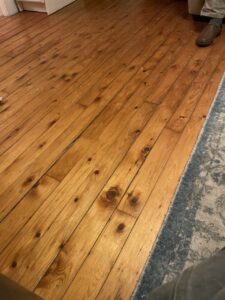
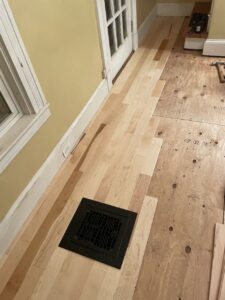
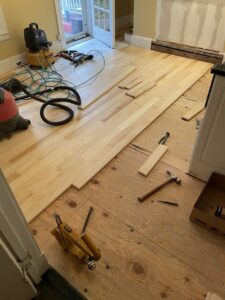
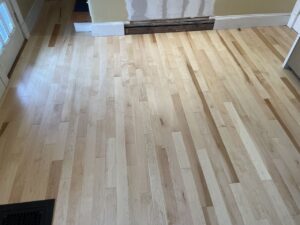
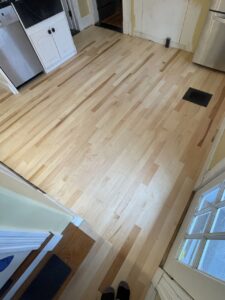
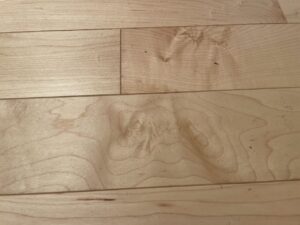
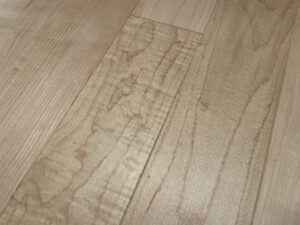
Finally it came time to put down the beautiful maple flooring the owners had chosen for their kitchen. It’s always the more enjoyable part of the job, beautifying what wasn’t!

Recent Comments