
Description:
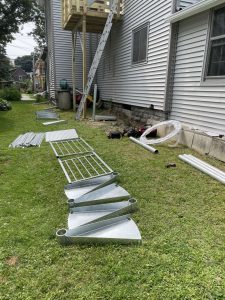
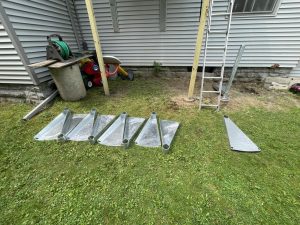
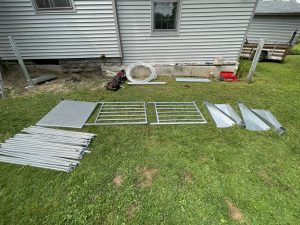
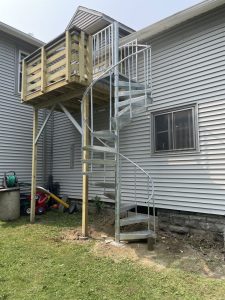
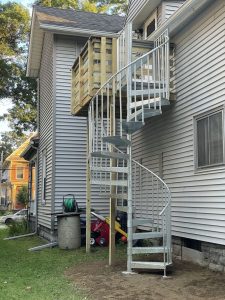
A dual purpose staircase gives access to an upper floor and serves as a fire escape. The former stair case was pressure treated and painted. See the previous post for more specifics. The new one was a kit of all galvanized steel construction consisting of 14 steps mounted to a center column. A square platform at the top connected to the deck and stabilized the stair while a 12″ pier of concrete supported the center column. A second, smaller pier supported the lowest baluster which wasn’t put in until the stairs were installed to be sure of the right location. The second pier seems like overkill but you can’t have the frost pushing up the ends of the steps and railing in winter. Without it the lower steps were unsupported on their outer ends and were noticeably bending.
The following comments are on the spiral stair kit, the pros and cons. Though the cons list is longer, there was nothing so bad as to discourage buying the kit.
The Pros:
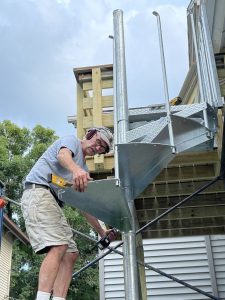
The staircase was expertly packaged and shipped without damage. The kit went together easily except for a few exceptions involving the screws and bolts. The design was clever, minimizing materials. Forming the aluminum spiral railing was a challenge but the main balusters helped pull and push it into position. The suggestion in the instructions to use zip ties to temporary hold the railing to the main balusters was very helpful.
The Cons:
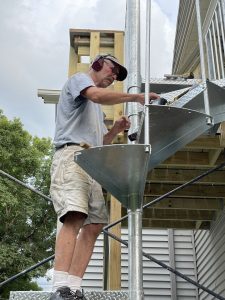
As we started building one of the first things we noticed was the galvanizing was applied after the holes had been drilled which prevented bolts from fitting. We ended up re-drilling every bolt hole. In our situation the deck posts were installed on the outside of the joists/rim joist so the landing had to fit between the 2 posts flanking the stair landing. This prevented access to install some of the bolts for the landing railings so we installed them before the landing was stabilized by being attached to the deck. This led to a long waste of time threading nuts on bolts that interfered with each other on the bottom side of the platform all while the platform made the center column off balance and difficult to hold steady. We wished for welded on nuts in this location.
Then the holes ment for attaching the platform to the wooden deck were too high. They basically hit the joint of the 5/4″ deck boards and the joists. We angled the bolts downward to catch more meat of the joist. We would have preferred holes drilled lower on the mounting face of the platform.
The balusters also had a hole issue, mainly the holes ment for the self tapping screws through to the railing were too small. This seems like it shouldn’t be a problem for self tapping screws and they did drill the holes bigger but I have to wonder why they needed to drill the balusters at all. Had the holes been bigger than the screw threads, they’d have been able to drill only the softer aluminum railing. As it was, the smaller holes in the balusters allowed the threads of the screws to be embedded in both the steel balusters and the aluminum railing without drawing the two together. Also a better photo of the balusters installed in the instructions would have helped us get them on correctly the first time.
Recent Comments