

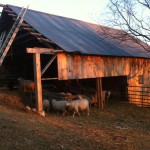
View of the barn on the way from the house.
Overview
This project is high on a hill with a mile and quarter access road that switch-backs up a steep side hill. Historically a farm (apples and potatoes), it now raises sheep and the barn needs some attention. The wind had hit the open end of the barn so hard one of the walls blew out and required an emergency repair in recent years. The owners want to extend the barn a few feet and close it in so they won’t have to worry about another wind caused blowout. They have already poured some sturdy piers in the ground anticipating this project. A 13’ wide door will allow access to and storage of their hay trailer.
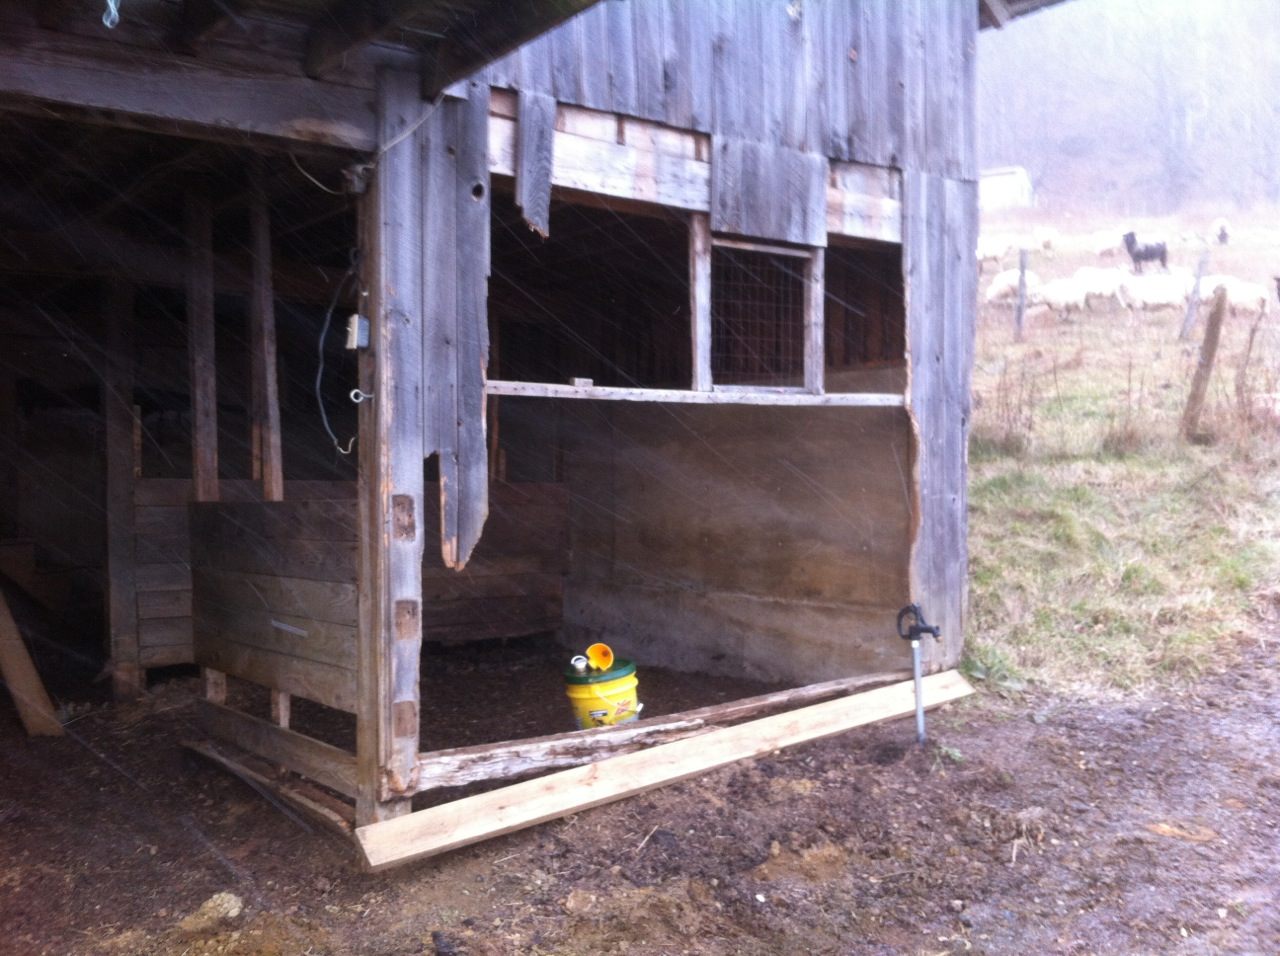
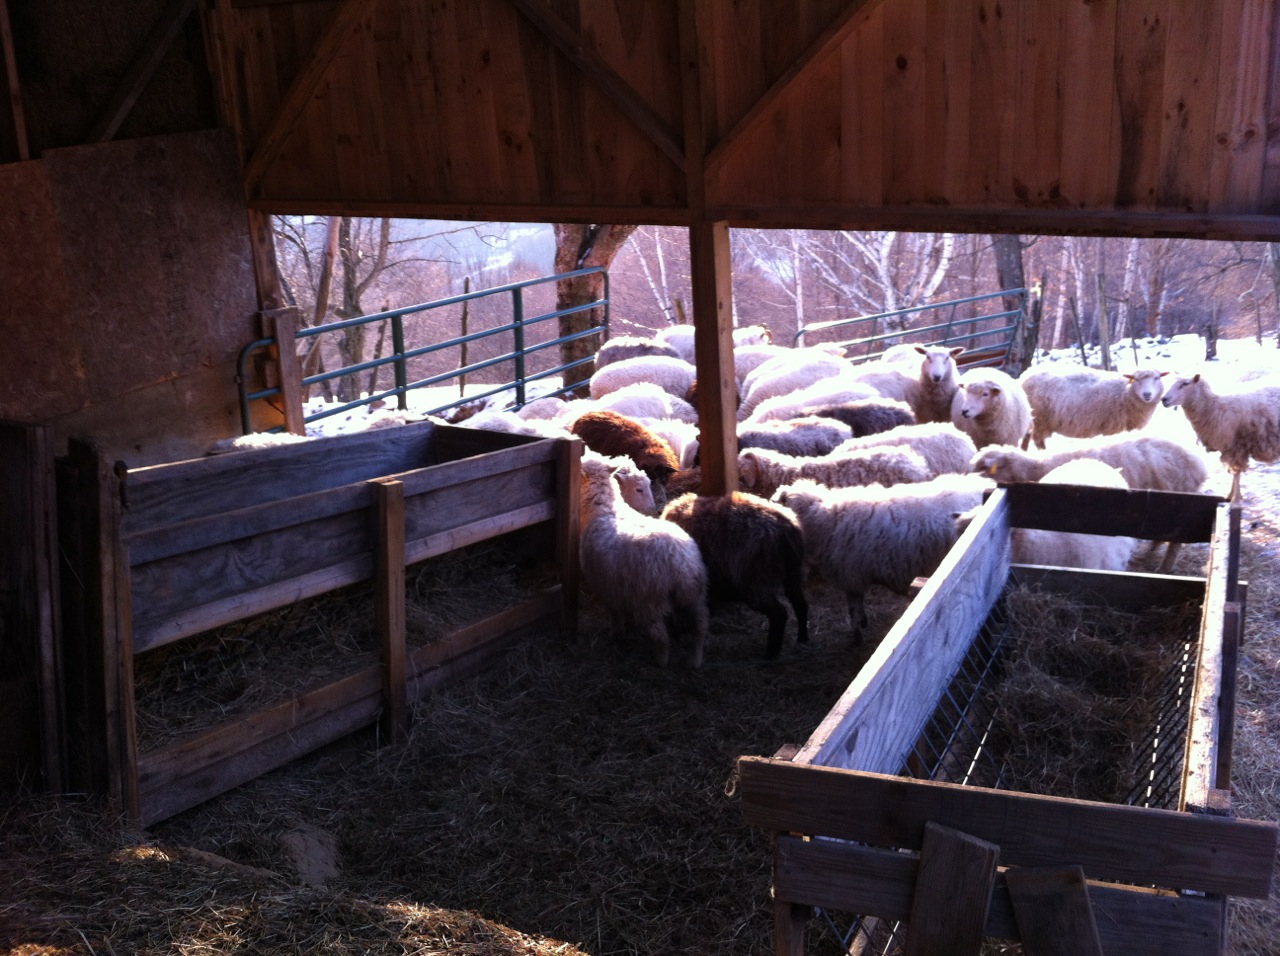
On the opposite end of the barn a mule and donkeys are sheltered and they have been too rough with the enclosure, breaking the siding in several locations. These areas need to be repaired and all of this area needs to be fortified.
First Steps
Unfortunately the project was started late but the owners feel an urgency to close in the barn to protect it from further damage. A local source for rough sawn 1 inch boards for siding was located and purchased at a very reasonable price. The boards were delivered to the barn but it became apparent that a storage area would be preferable than allowing the sheep to trample them so I built a lumber storage area hanging from the rafters. The 2×6’s and 2×4’s we needed came from a local sawmill and were green and ice coated from an ice storm so after I delivered them to the site some de-icing took place on a convenient warm day.
The rafter assemblies consisted of 20’ and 16’ rafters and a 16’ collar tie. I cut all the parts for the three assemblies and built one. My plan is to install one rafter assembly to replace the rotted one that was not covered by roofing, cut the rotted ends of the 2×4 perlins off at the center of the last solid rafter and replace them with the new 7’ 2×4’s. The one new rafter assembly in place will provide a second point of attachment for the perlins at 3 feet, cantilevering the remaining 4 feet. These will assist in holding the remaining 2 rafter assemblies as they are installed but before proceeding with that step, the corner post and wall extension must be installed. That will complete the roof framing, allowing the corrugated roofing to be applied. With extension and roofing completed, I will build the end wall.
See the gallery below of the job site. Many of them are just scenery as the location is so beautiful the photographer in me takes over.
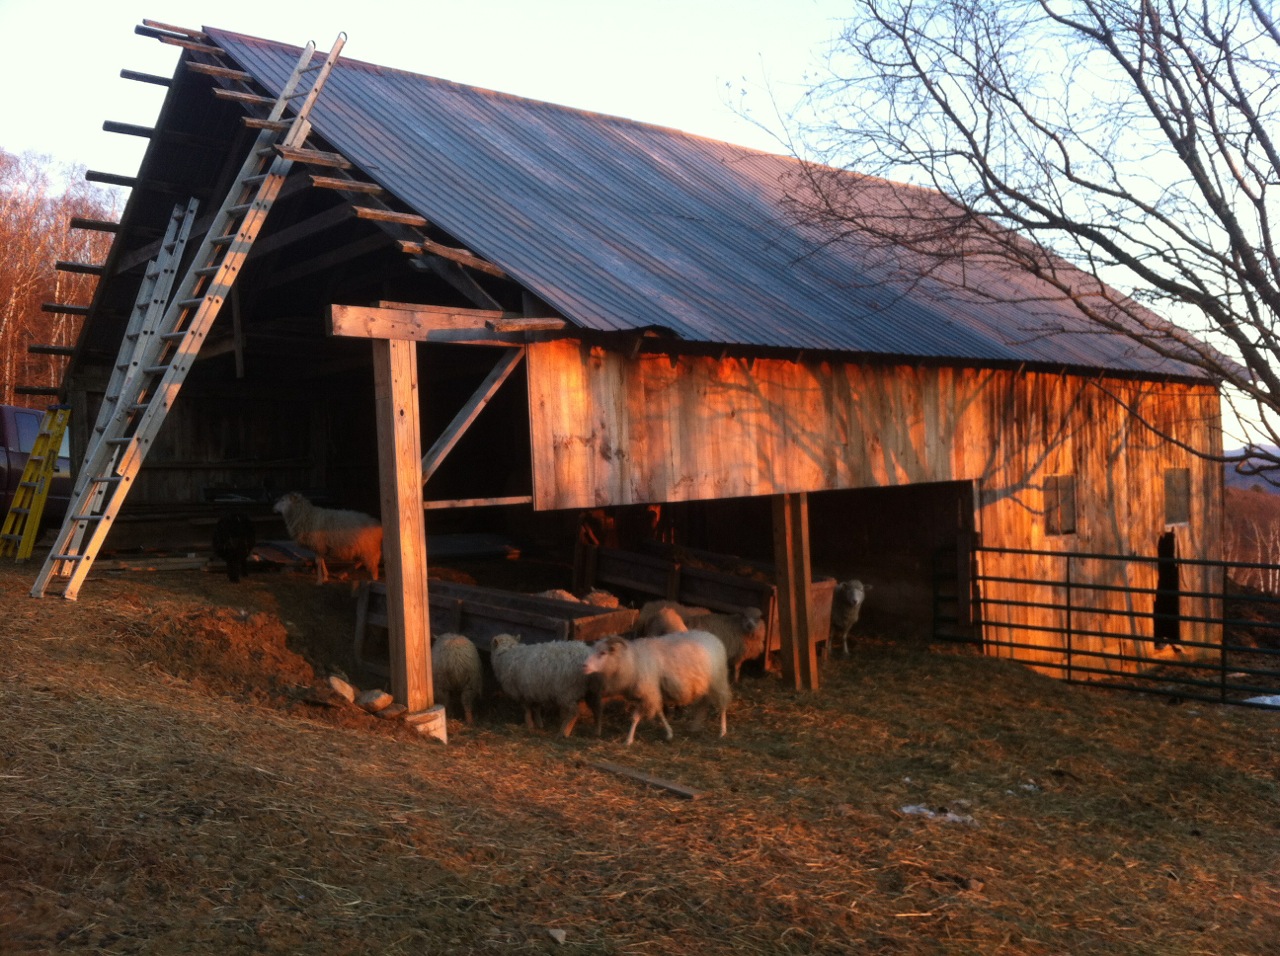
-
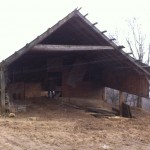
- First look at the project. The end to be extended 4 feet and closed in.

-
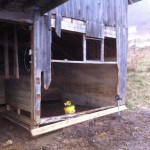
- This end need repair and fortification from equines damaging the walls further.
-
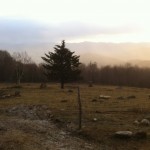
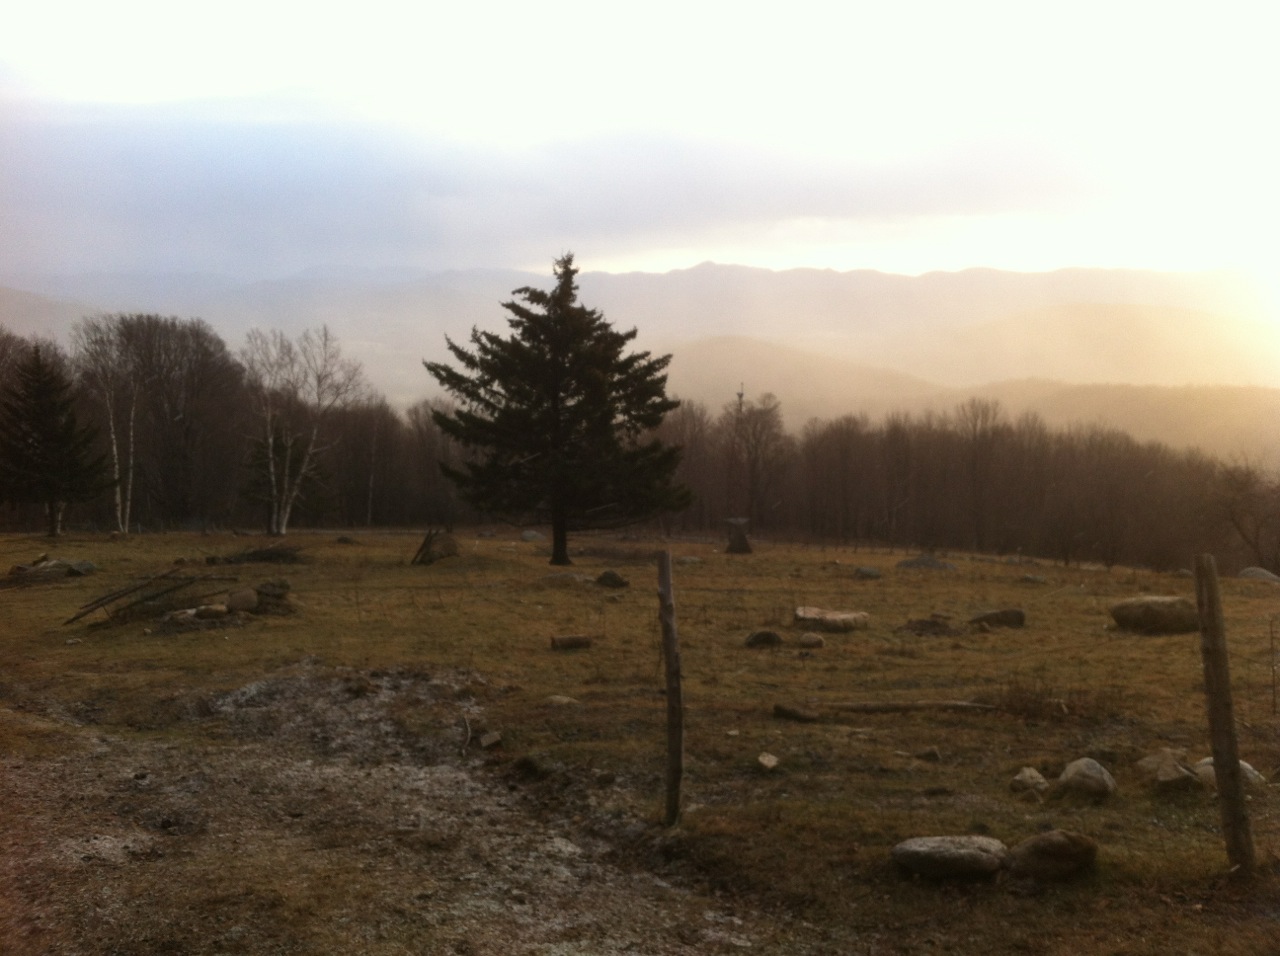
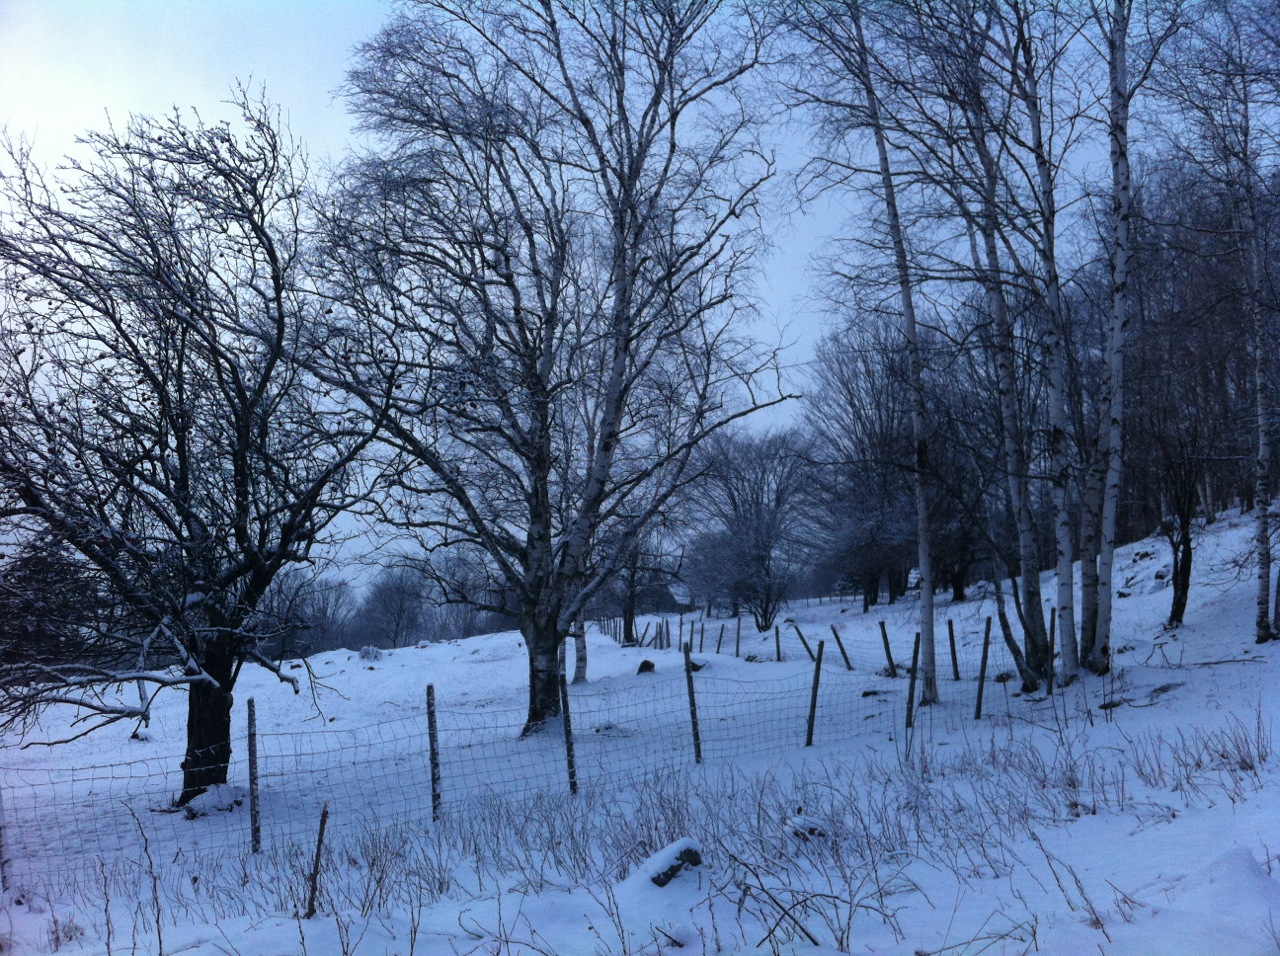
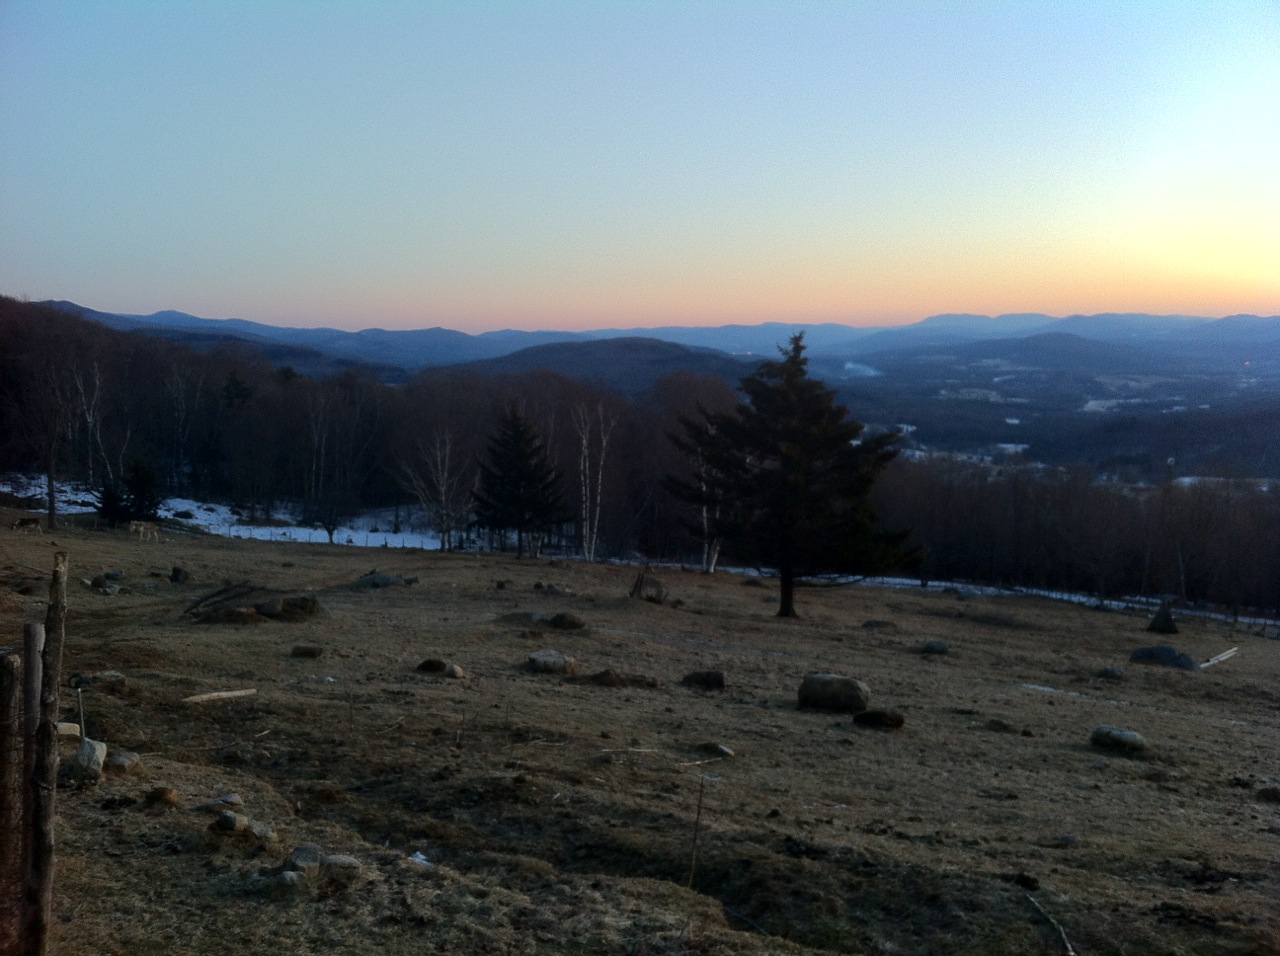
- View of the pasture and haze in the valley below.
-
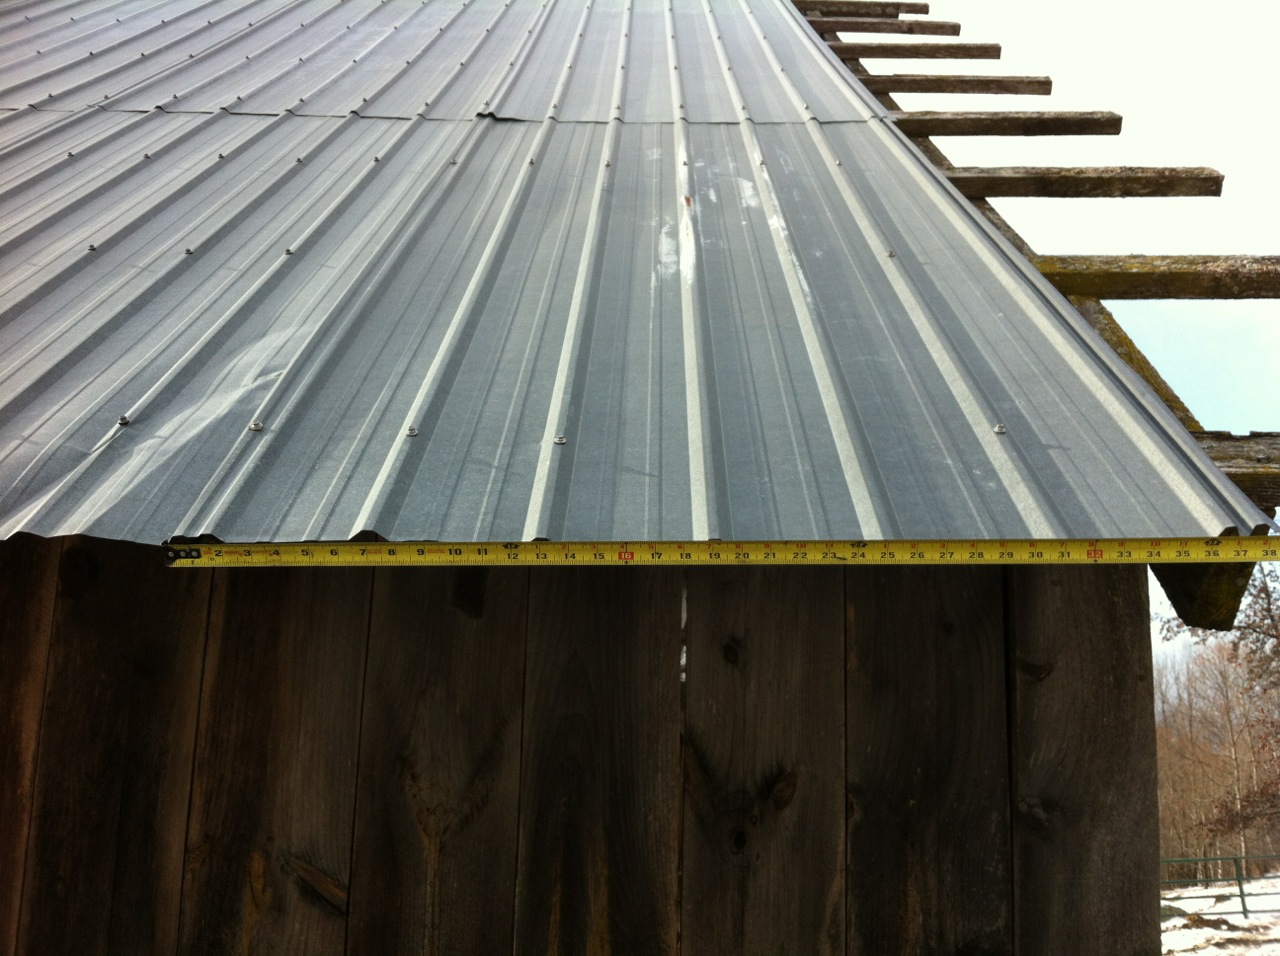
- Measuring the roofing so it can be matched.
-
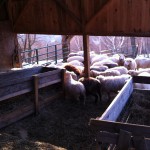
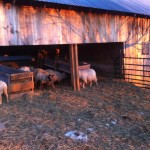
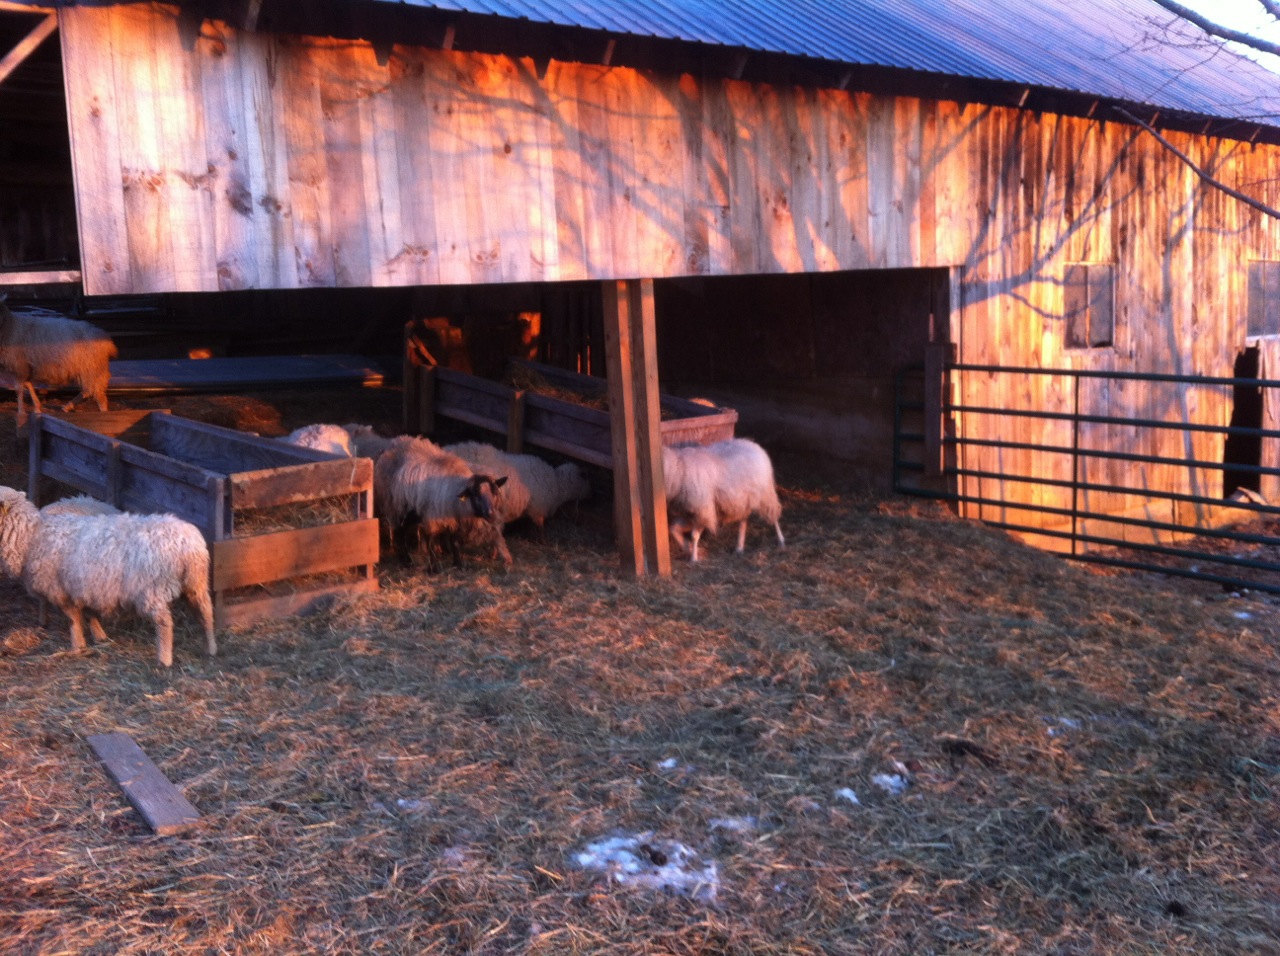
- Winter residents of the barn.
-
- Old apple trees scattered over the farm show it was once an apple orchard.
-
- View of the barn on the way from the house.
-
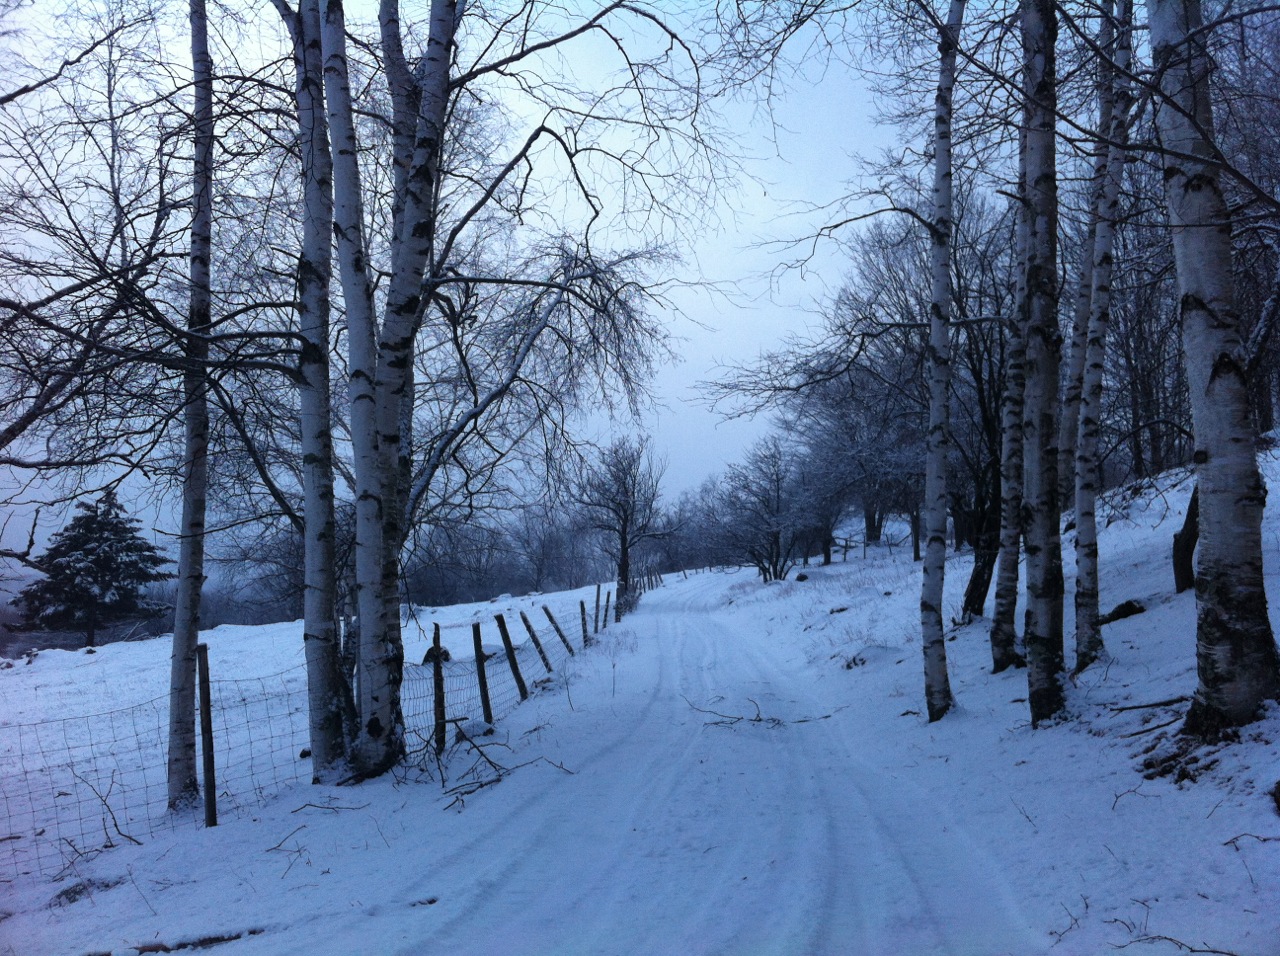
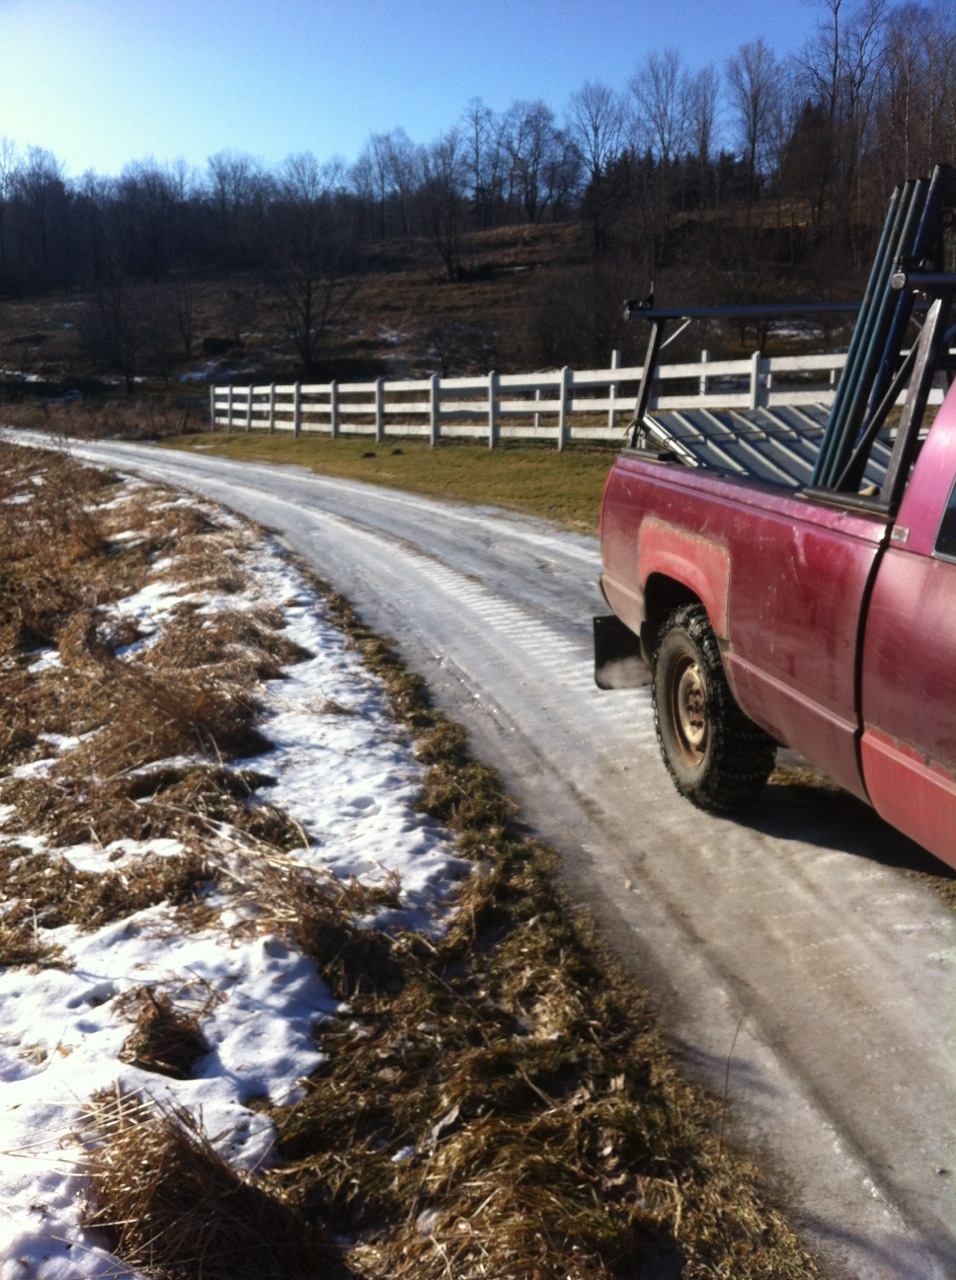
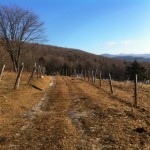
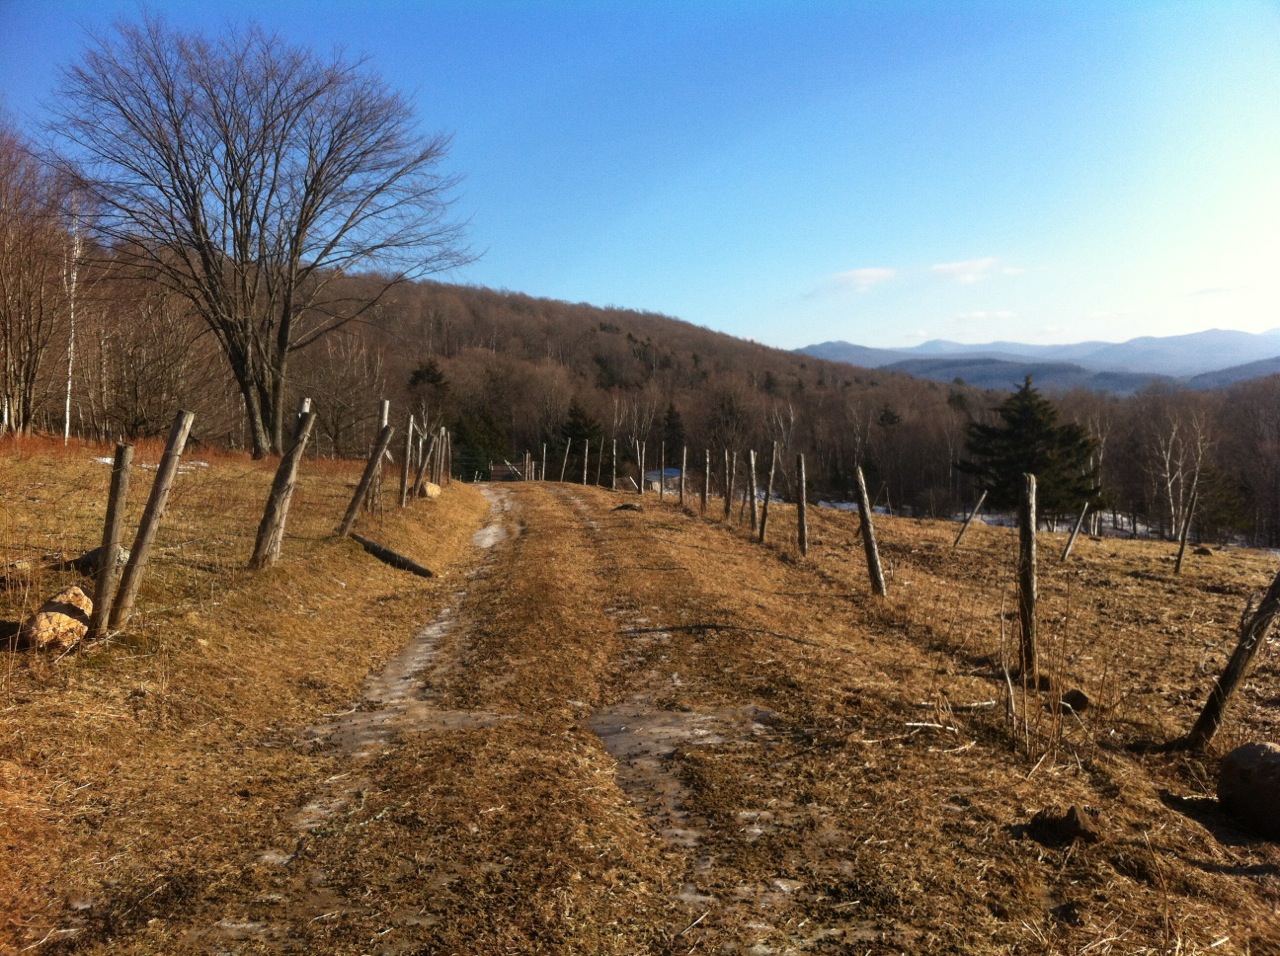
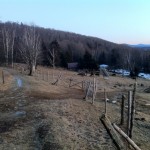
- The lane to the barn across the top of the pasture.
-
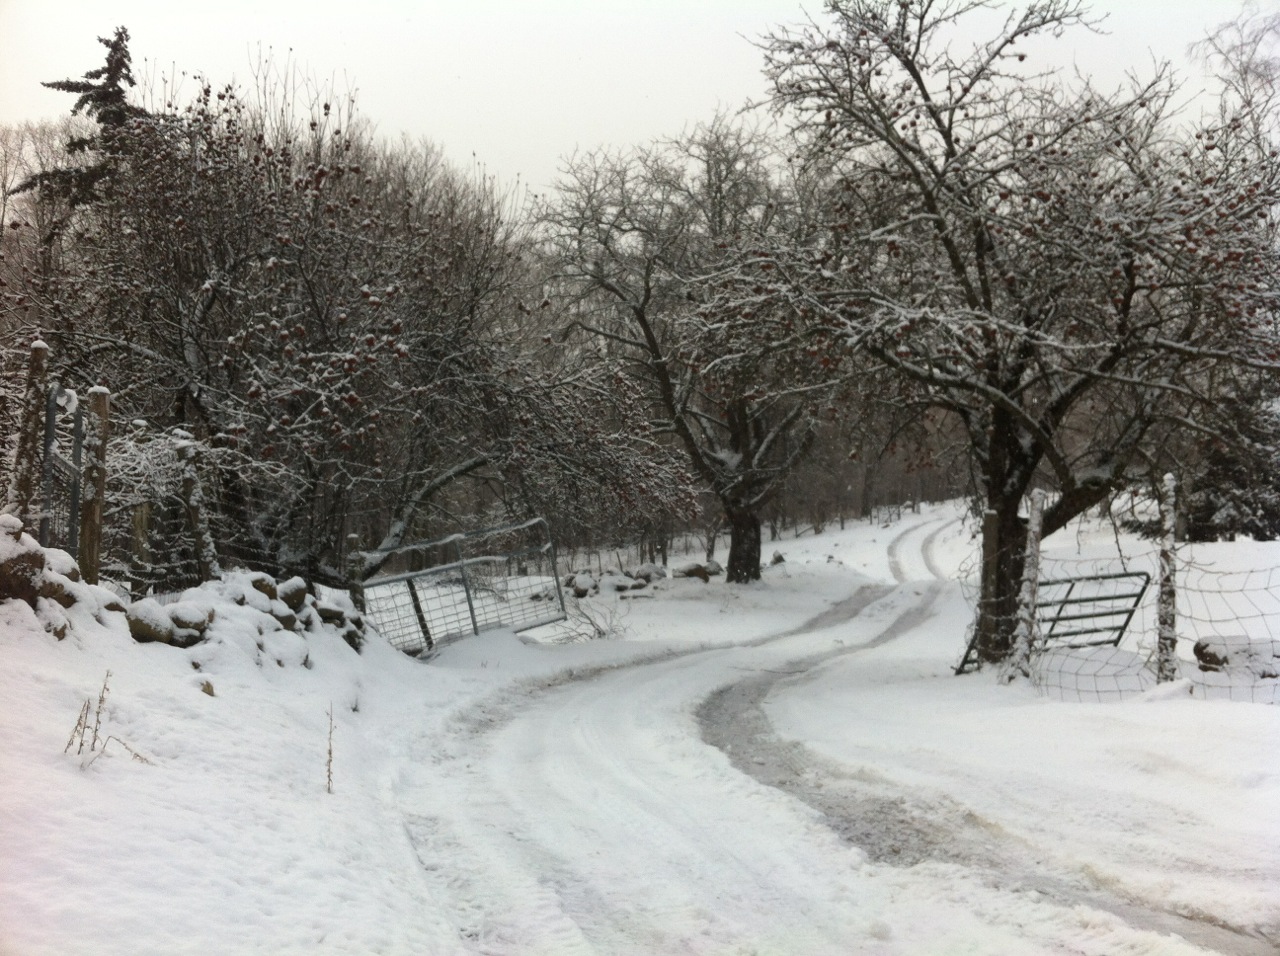
- Driveway at the top after ice storm. More apple trees. Deer must love it here!
-
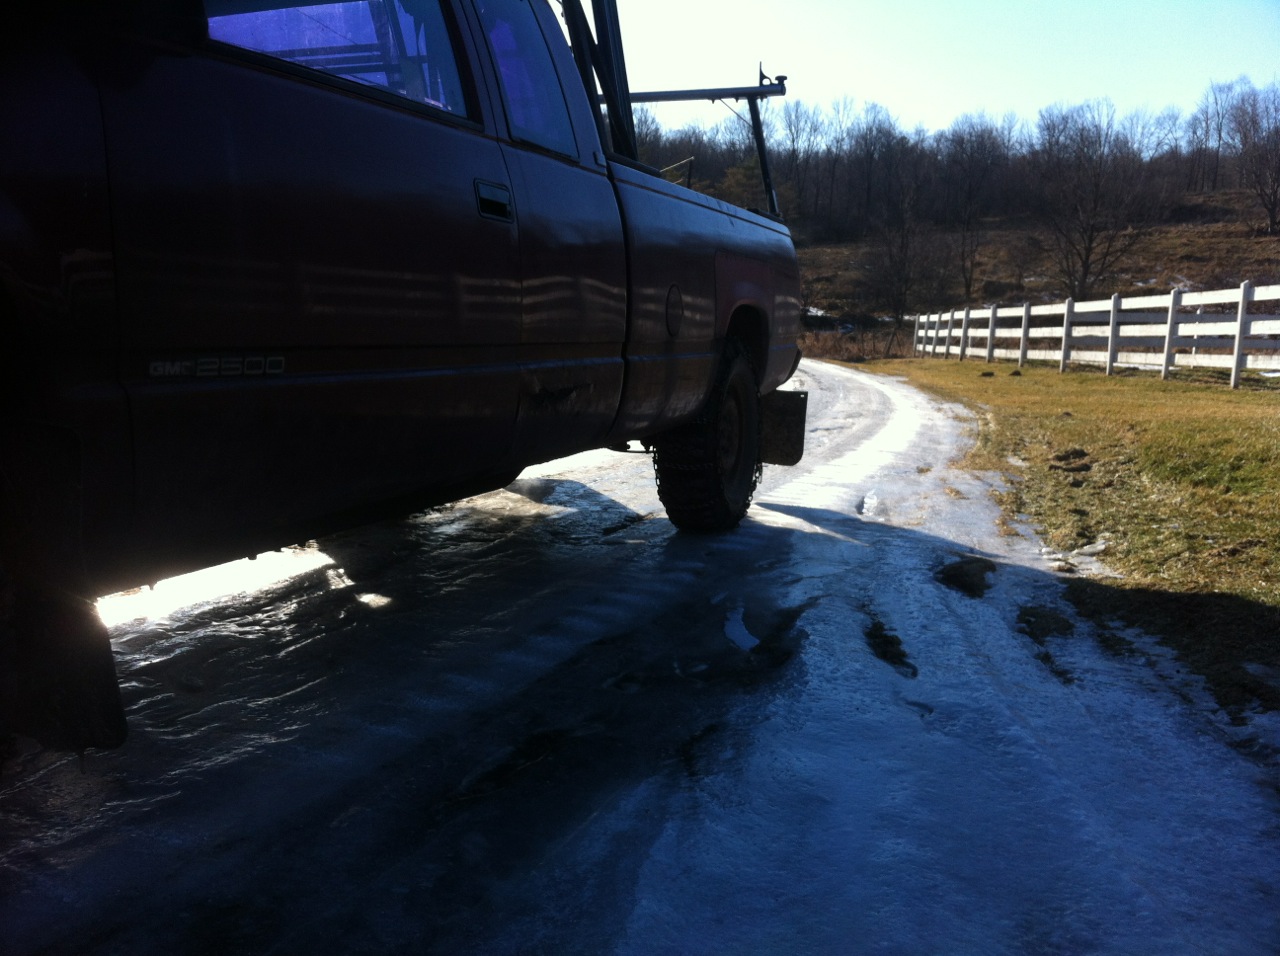
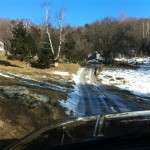
- After several days of rain and a refreeze the snow was gone but the road was like glass.
-
- Making the climb up the road with all four tires chained up.
-
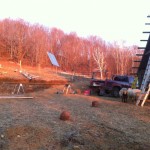
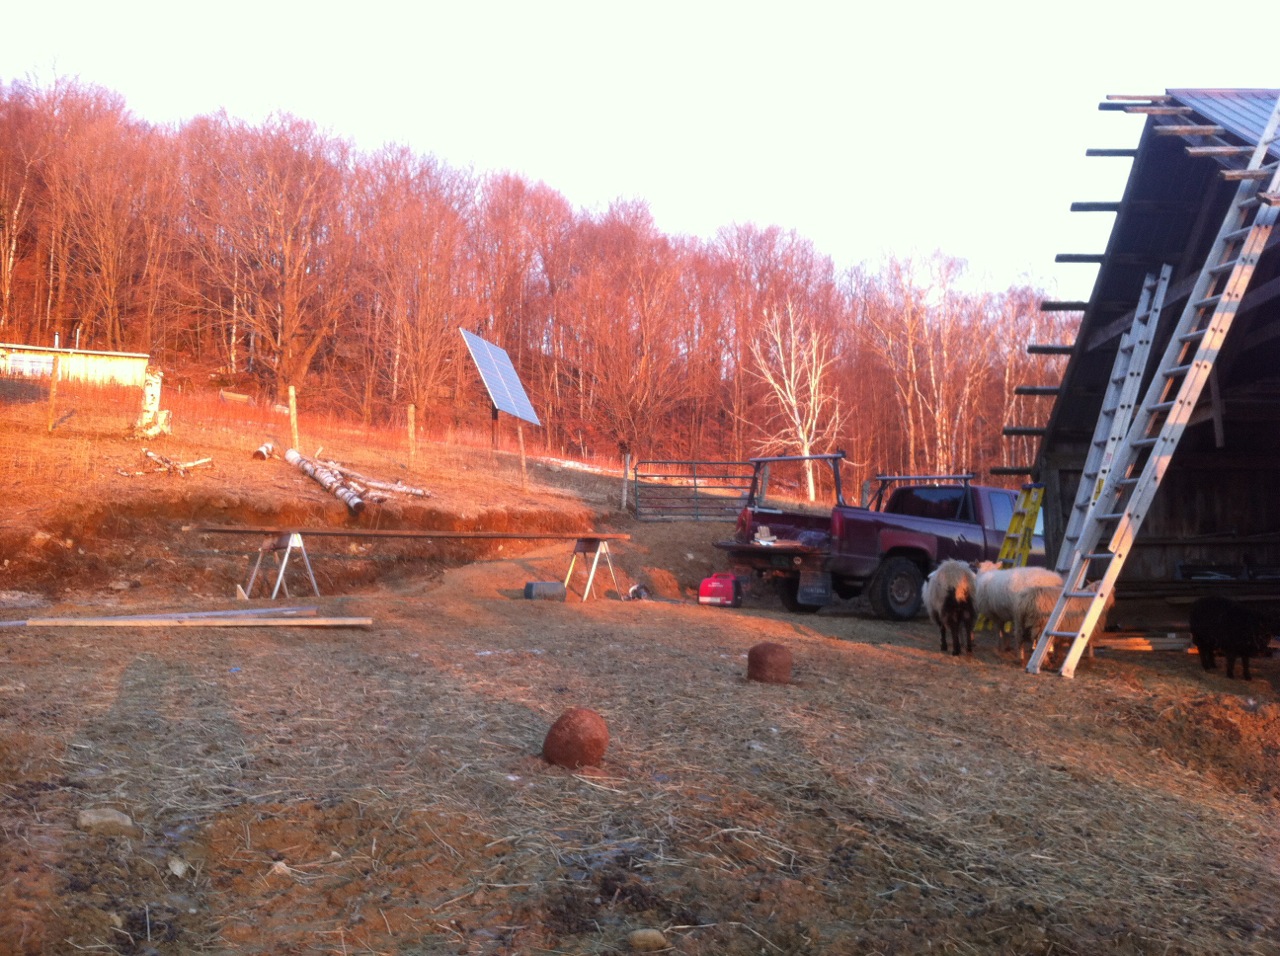
- The sunny section near the barn lost its ice. This is where the sheep sun bathe.
-
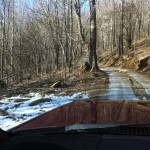
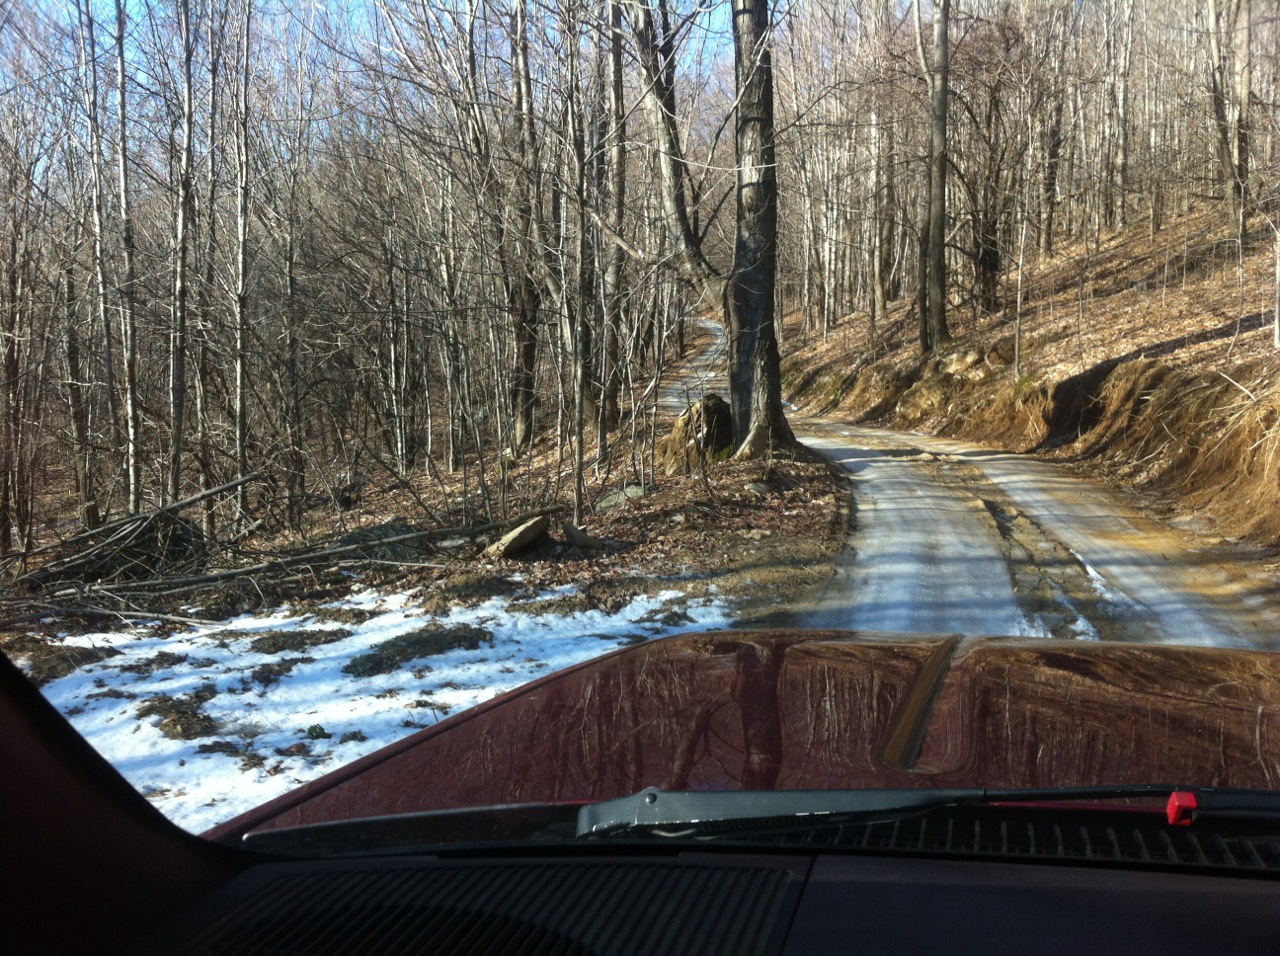
- Climbing the swith-backs in the woods.
-
- Breaking out of the woods at the final approach to the house.

-
- View from the sunny part of the road back to the house.

-
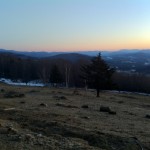
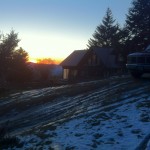
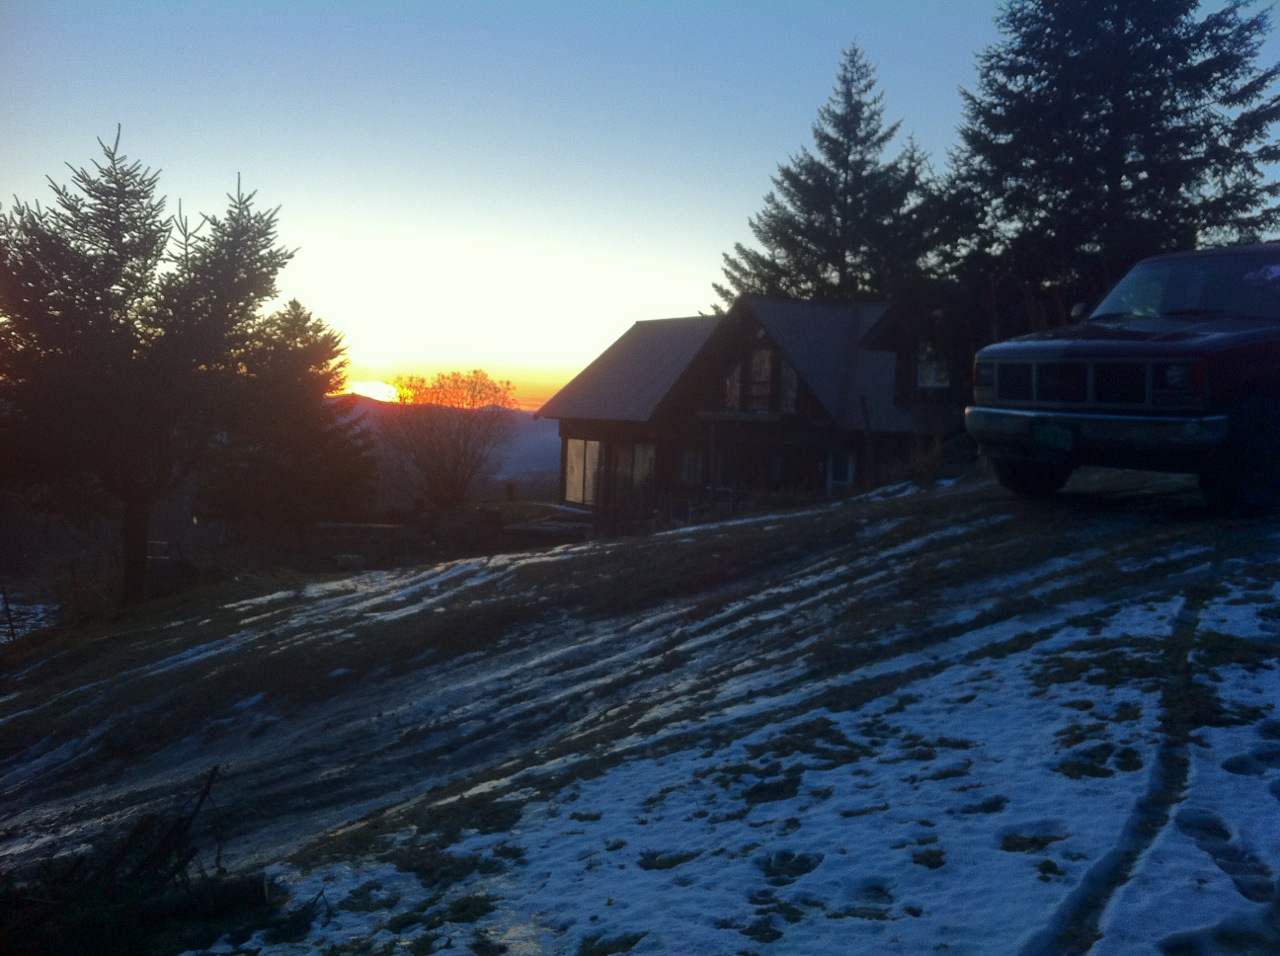
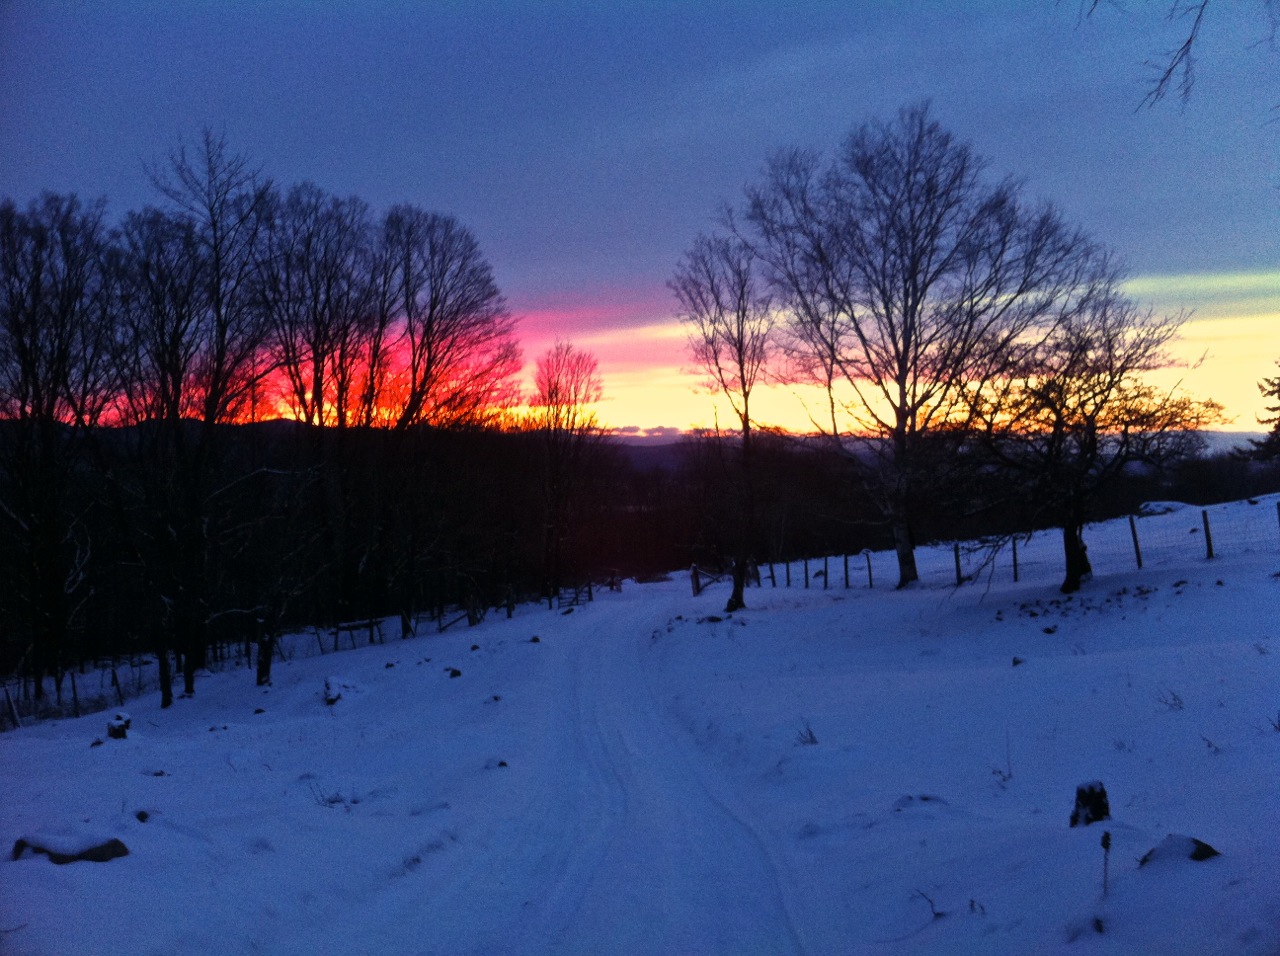
- Always great sunsets from up here.
-
- Check out the steep drop in front of my truck!
-
- The repaired side of the barn that was blown out.
-
- Nice color.
-
- Measuring to duplicate the rafters.
-

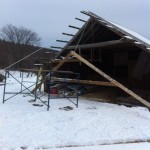
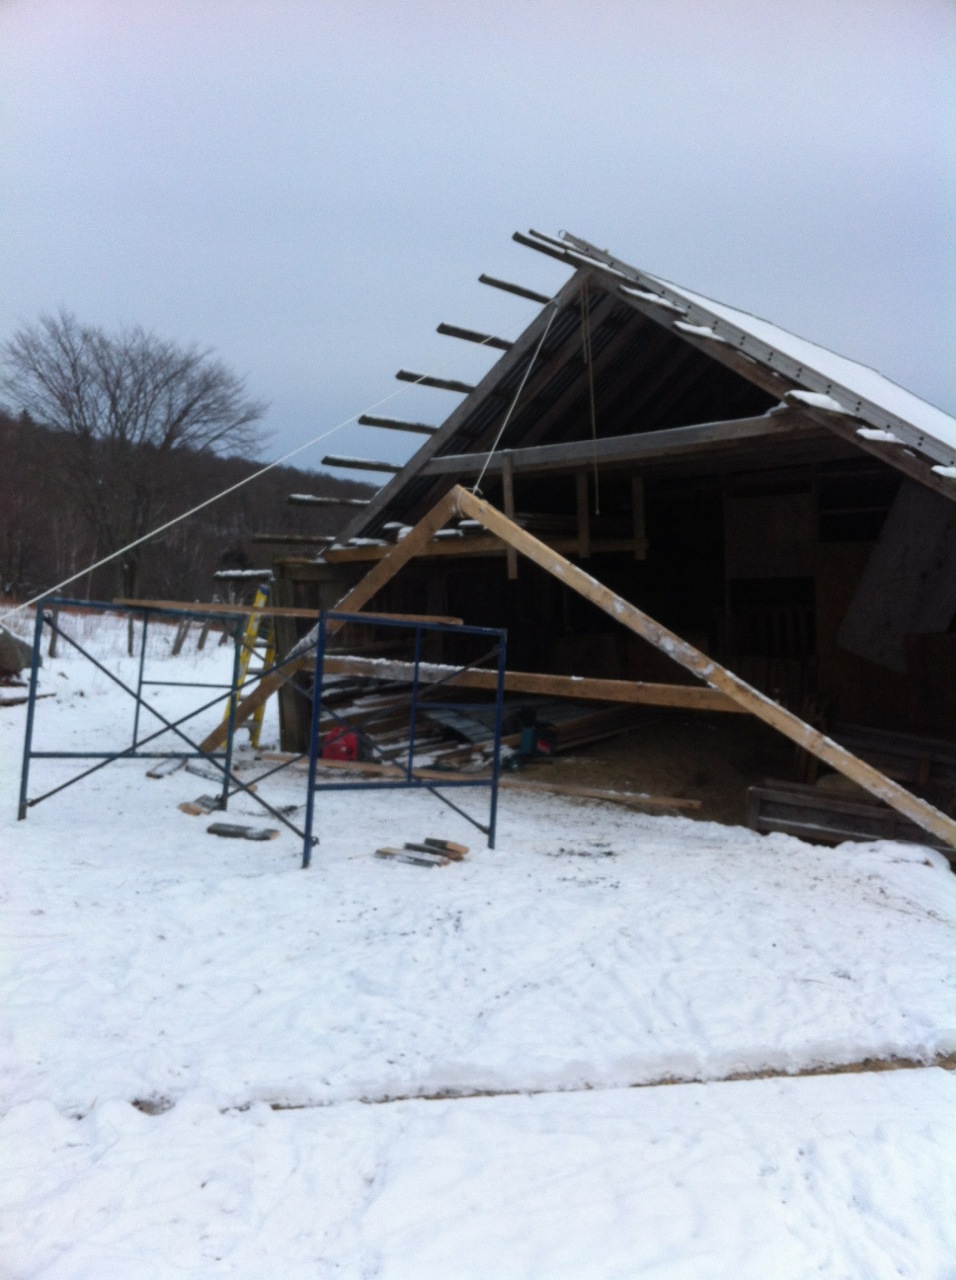
- Metal panels removed so perlins can be cut off and replaced.

-
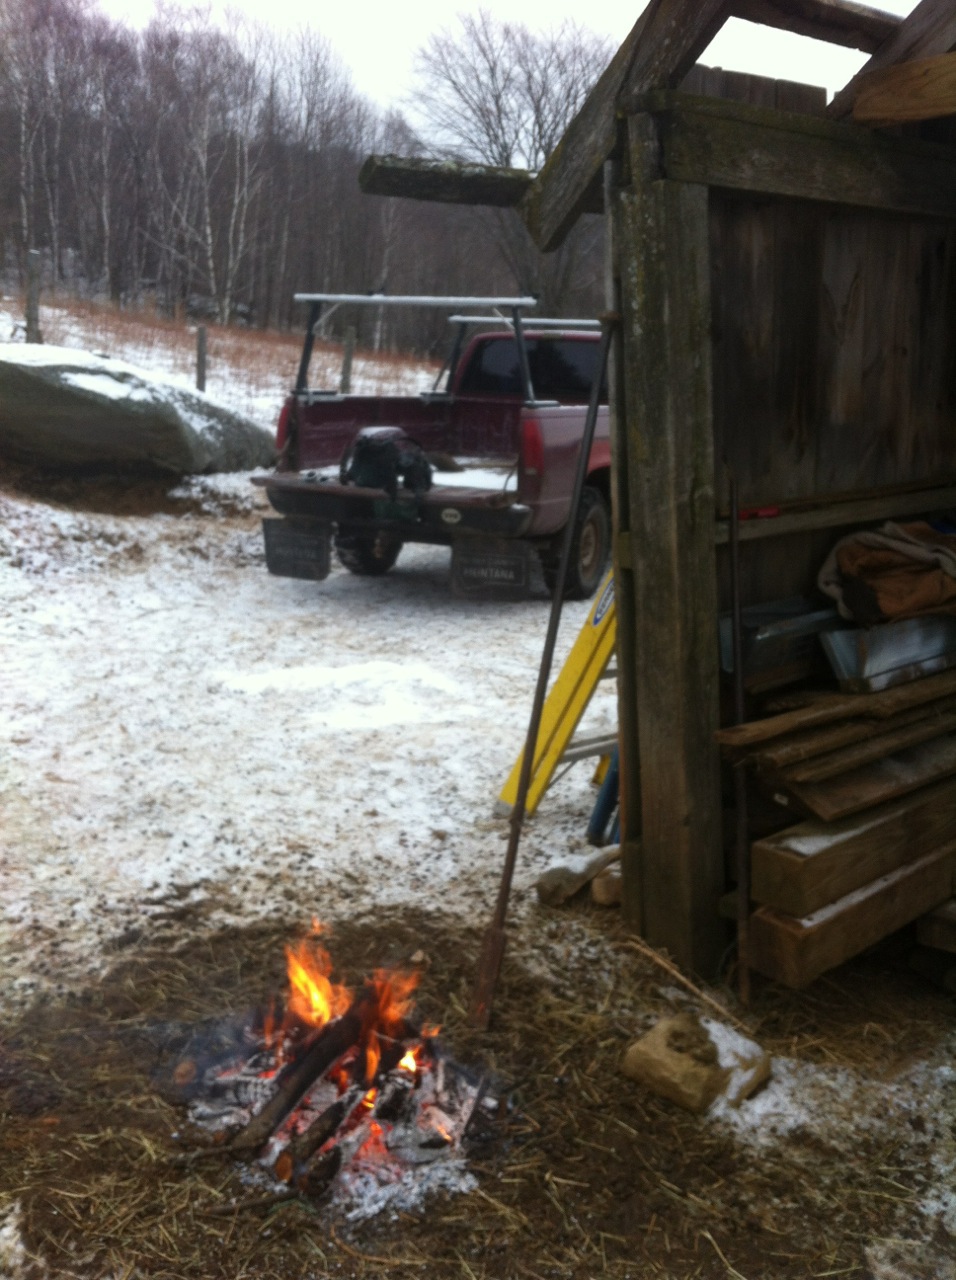
- Fire was built to melt out frozen mud on corner concrete pier.
-
- Raising the first rafter assembly into place.
-

- Color on the way home…
Recent Comments