
The original stairs were made from salvaged materials of inconsistent dimensions which made the riser height variable, tread width variable and the bottom step too close to the foundation wall. Everyone who used them complained that they often tripped on the stairs because they were not even and that the stairs shook when used. The objective was to build even, sturdier stairs with deeper treads and more space between the bottom tread and the basement wall.
Thinking about this objective seems impossible staying within existing dimensions. How do you make the steps deeper and still end farther away from the foundation wall without enlarging the stairwell? A friend helped me with the figuring and design. We found two space saving methods. First, the top step in the stairwell was even with the main floor so we decided to make this the first step down instead. That saved 9 1/4″. We wanted a full 3 feet between the last step and the basement wall so we still needed more.
The owners wanted a landing two steps up from the basement floor but on closer inspection such a landing would not give the landing enough head room even for folks under 6 feet tall. We tried just a single step up for the landing and this allowed us to have the 3 foot landing and make the treads 9 1/2″, 1/4″ wider than the original stairs. Though we would have liked an even wider tread there was not enough horizontal room to make it happen. At 9 1/2″ we were already at an 8″ rise, an inch greater than the standard 7″.
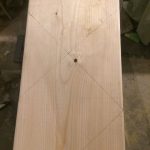
I want to share the stair calculator we used to figure out the stair design. Perhaps the most exceptional feature of the calculator was that it provided layout measurements to be pulled from one end of the stringer stock. This left no doubt when the layout was drawn and prevented any stretching or shrinking due to compound error. Also a real time saver.

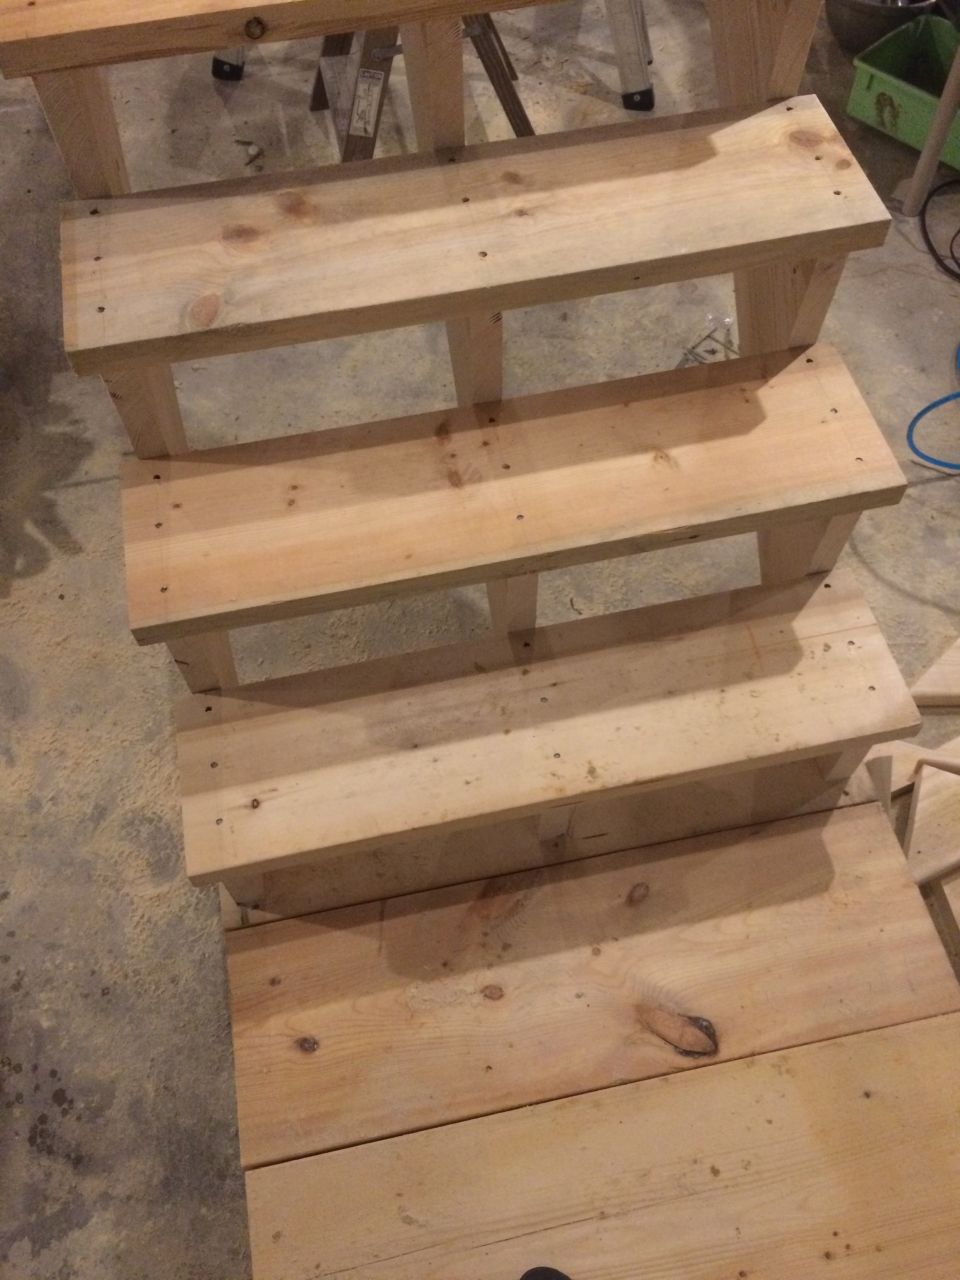
With all the planning done it was just a matter of cutting the parts and assembling with construction adhesive. A couple of notes on assembly: with the top step in the stairwell now one step down from the floor, the stringers didn’t even contact the floor joist so I used metal straps and engineered nails to hang them from the floor joist. For additional rigidity, I screwed some framing scraps to the bottom of the joist to create some contact for the stringers and used some plywood pieces to hang the outside stringers from the walls of the stairwell. The completed stairs still had a slight vibration when using them so I added some blocking to the middle of the stringers which firmed them up nicely.
-
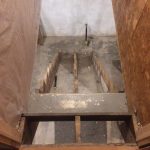
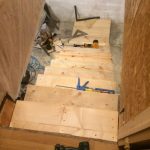
- The old stairs being removed.
-
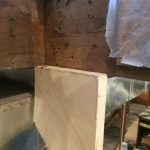
- Landing base in place.
-
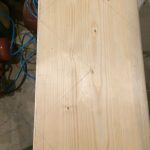
- Measurements pulled from one end. Bottom step
-
- Cut lines. Bottom step.
-
- Making the cuts.
-
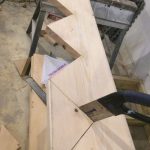
- Test fitting a stringer.
-
- Perfect fit.
-
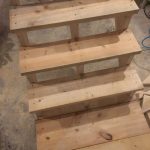
- Glued and nailed treads.
-
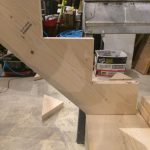
- Rugged result.
-
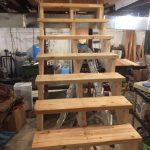
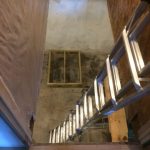
- Finished stairs.
Recent Comments