
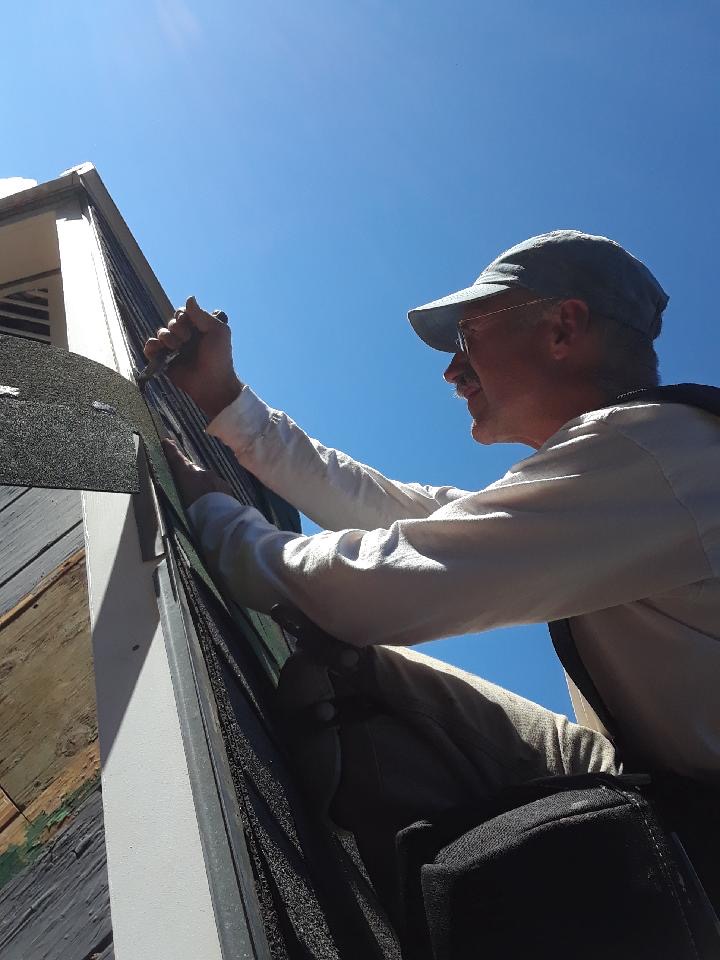
This was a project to help me appreciate good framing. On this gable end overhand there wasn’t any good framing to speak of. There were some ends of roof sheathing boards of various lengths or just missing with lots of little scraps nailed in for spacers and some very old 2X4s made from dense, old growth trees that strongly resisted nailing. They were there as a nailer and spacer for the soffit but they were neither straight nor nailed on straight so after we stripped off the old trim we measured and shimmed and re-shimmed in an attempt to make the new trim look straight. We couldn’t make it actually straight because the new trim had to fit under the existing drip edge which meant our new trim had to follow the same course as the old trim.

The new owners were fondly imagining the builder and former owner of the house with teenage helpers who were learning as they helped. We imagined him scolding his helpers like this: “Stop cutting off those sheathing boards! Now you’ve got to climb down, pick up all those little pieces you just cut and bring them back up here and nail them onto the top of this 2×4 so there’s something for the roof to nail to. (Eye roll) Kids these days!” A whole day to prepare the framing for the new trim! I too was doing an eye roll.
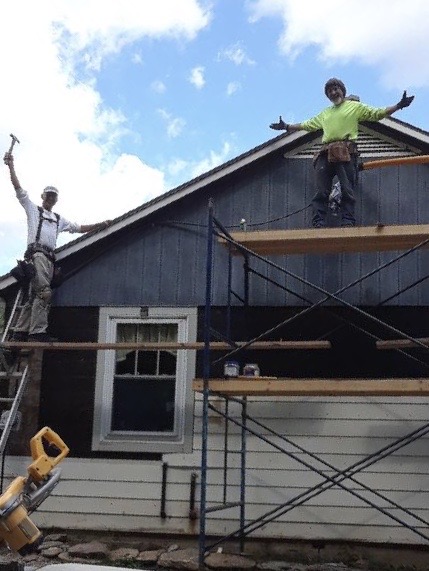
Second day was about the same. The siding nails we used to nail on the trim were extra weak and the plywood and framing were extra hard so some cussing and nail bending ensued as we installed each board. Where exactly was the peak? It was a challenge to find but we used 2 mock up trim boards cut to the correct angle to find it then screwed one in place and fit one of the rake boards to it. Only then could we scribe the short point of the compound miter cut that would become the joint with the facia. Scribe to what framing? I had to guess and hope the new facia would end up where the old facia was, but straighter. So with all those challenges we raised our arms with the success of installing the rake trim.
The last step was patching the roofing where the chimney had passed through the overhang. The nails drove, the shingles cut and all went well with this part.
Recent Comments