
Detail
The project proved to have several interesting elements. First, I didn’t have access to electricity for the first day but was able to cut with a chainsaw and drive nails with a hammer so it was not a problem. Toward the end of the second day the owners showed up and unlocked the door of the garage so I could have access to power. It was just in time to charge my drill batteries to drill for and drive screws in the posts and railings. Second, I’d never been required to put up Christmas lights as part of a carpentry project but there is a first time for everything!
-
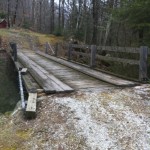
- First look at the damage
-
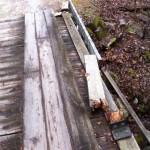
- The worst damage was on this corner of the bridge
-
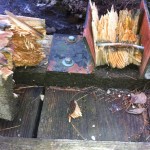
- One post was completely snapped off.
-
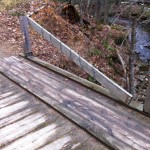
- This post was hit which knocked down the top rail and popped the lower rail completely off
-
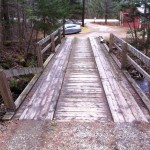
- Overall view of the damage
-
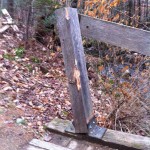
- The hit post
-
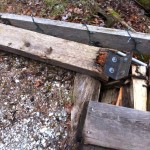
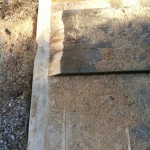
- Damage here broke 3 bridge planks below the post
-
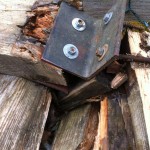
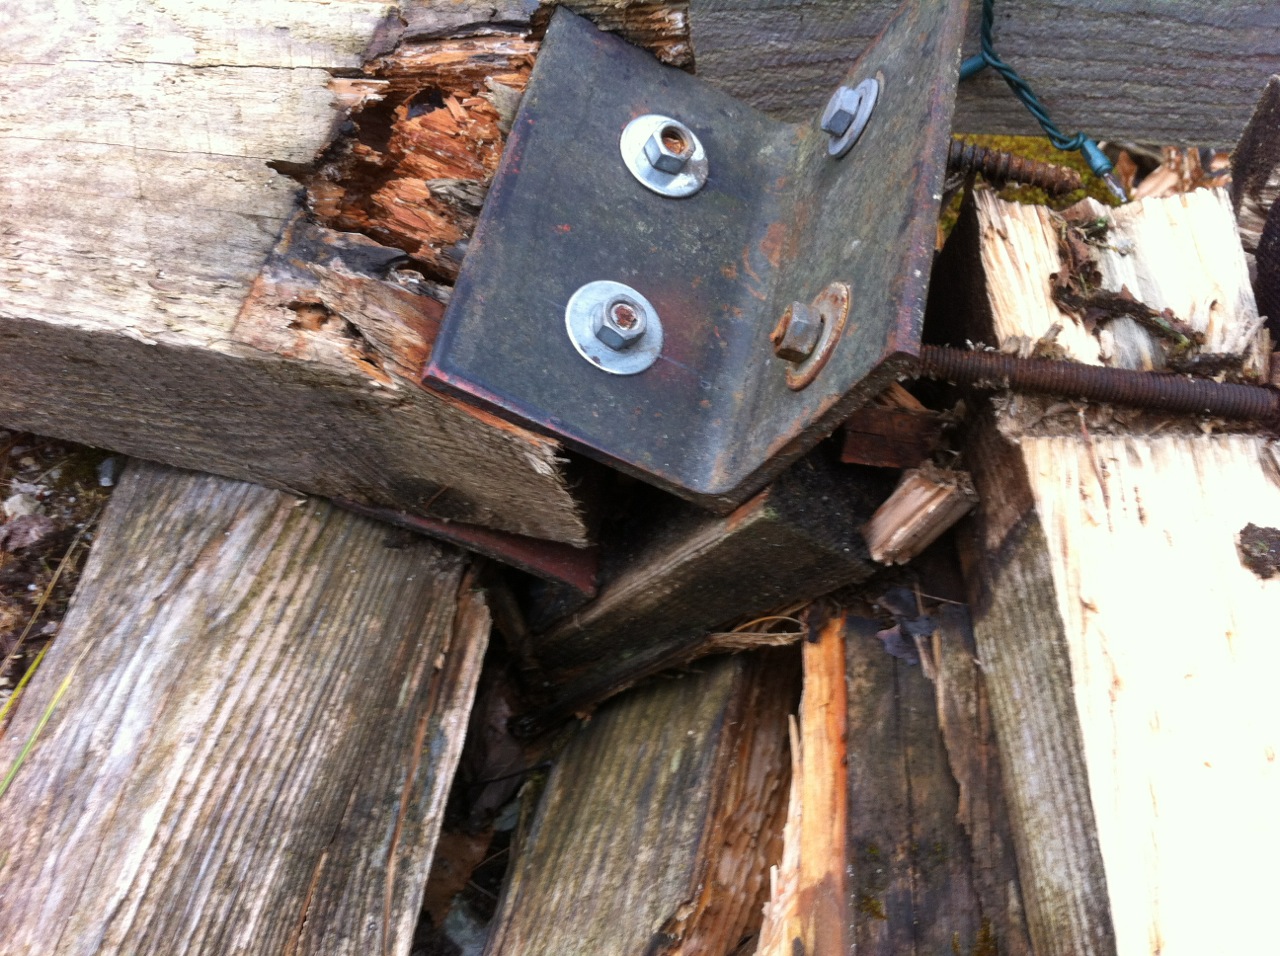
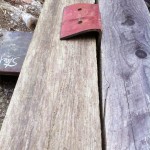
- Detail
-
- Bent bracket
-
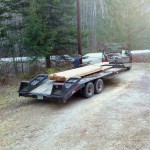
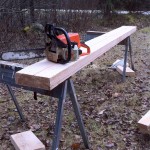
- Lumber delivered
-
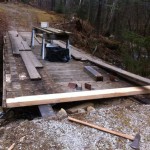
- Setting up
-

- Here the broken planks are removed and blocks are used to hold brackets while I hit them with a sledge hammer
-
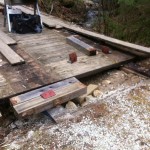
- Using steel “I” beam for support
-
- Ready for the sledge hammer
-
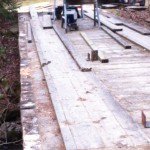
- With railing removed, rough edges of the bridge were revealed
-
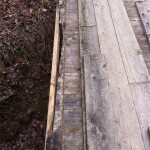
- 2x4s running the length of the bridge connected the ends of the bridge planks
-
- No 2x4s on this side connecting the plank ends
-
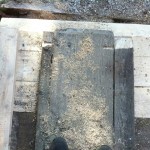
- Broken bridge planks removed
-
- Plank replacement number 1
-
- Snap lines on this plank were used as a guide for cutting the bevel
-
- New bevel carried to wear planks
-
- Mud between the planks dulled the saw blade.
-
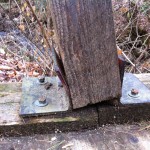
- Railing shoe being replaced
-
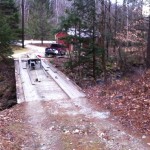
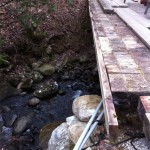
- Bermed up earth on the right side of the river keeps it directed under the bridge
-
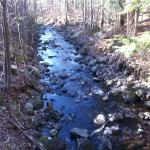
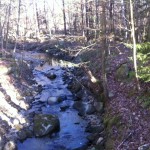
- The straight channelled river below the bridge
-
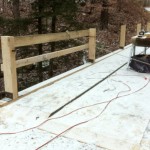
- New posts
-
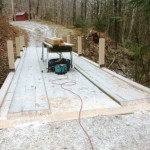
- Electricity for cutting railings with skill saw
-
- The rope and clamps are my second man holding the rail in place for screwing and driving the screws. On the end of the rope is a weight hanging over the edge of the bridge
-

- Heavy screws were used to attach railings to posts
-
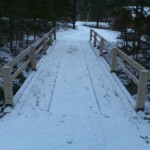
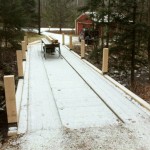
- Railings done late in the day
-
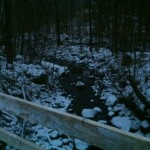
- River diverted toward bridge.
-
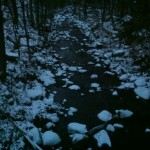
- Channeled stream below bridge
-
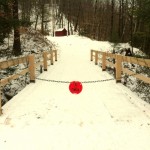
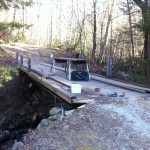
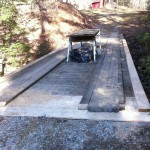
- Completed bridge complete with Christmas lights.
-
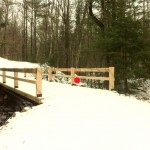
- A side view.
-
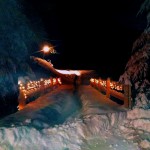
- Christmas lights lit up.
3 comments
Cliff, The bridge looks great! Like nothing ever happened. Thanks so much for the great job. I was also delighted to hear about the new Christmas lights – I was about to pick up some new ones so that was a wonderful surprise!
Thanks Sue! Hey do you have a photo of the bridge with the Christmas lights on? I would like to add it to the photo collection in this post. If not, will the lights be on evenings this weekend? I could swing by and snap my own photo.
Thanks Sue, for the Christmas Lights photo. I’ve darkened it and added it to the collection in this post.